HOME ➔ Gaming ➔ Guides ➔ Resident Evil 0 ➔ Walkthrough ➔ Walkthrough #3 - The Laboratory
Resident Evil Zero Walkthrough #3
The Laboratory
Posted Jan 21, 2023
List of Walkthroughs
Introduction #1 The Train #2 The Training Facility #3 The Laboratory #4 The Factory #5 The Treatment PlantWalkthrough #3 - The Laboratory
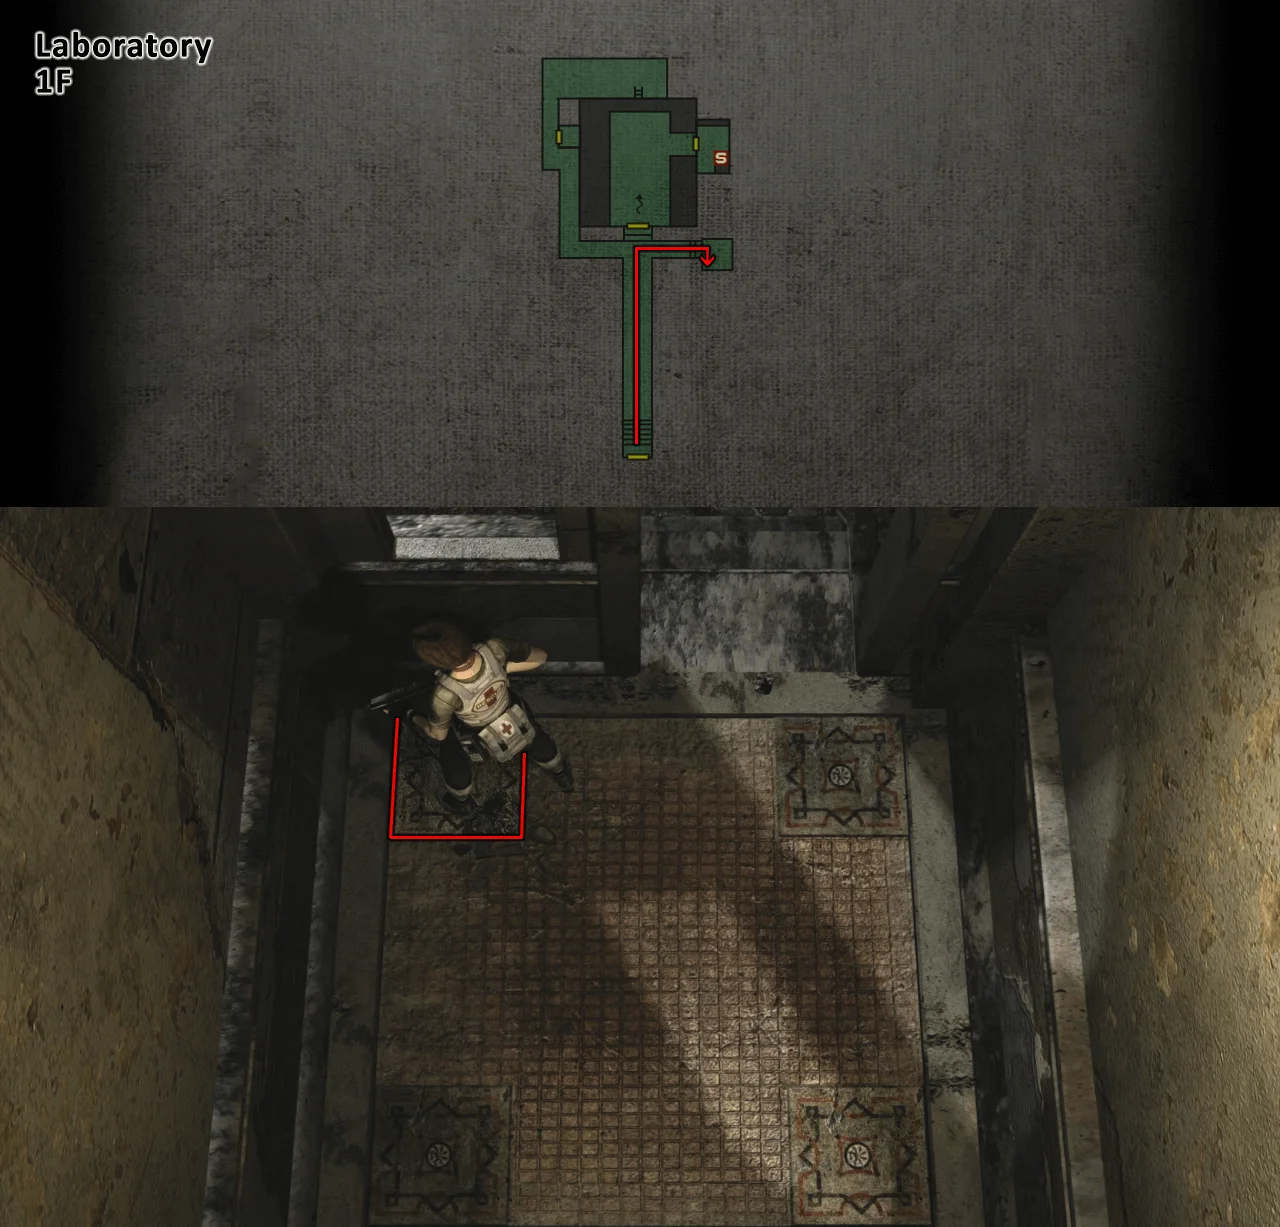
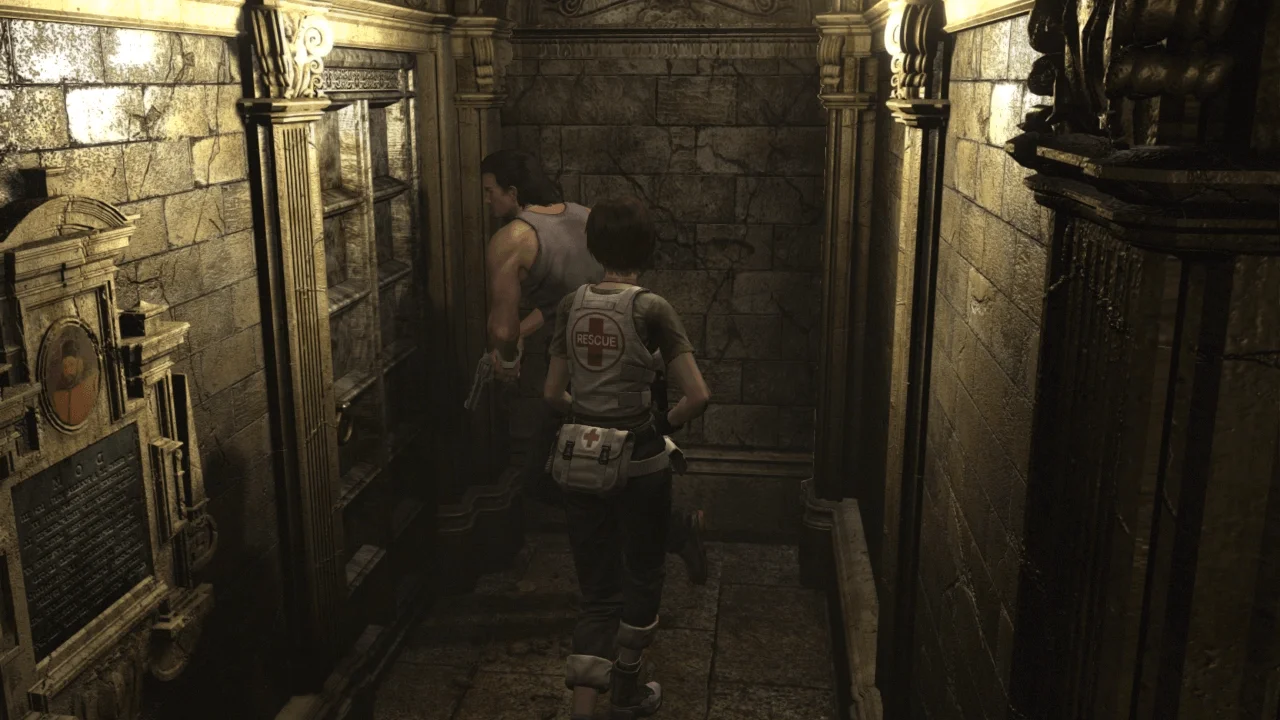
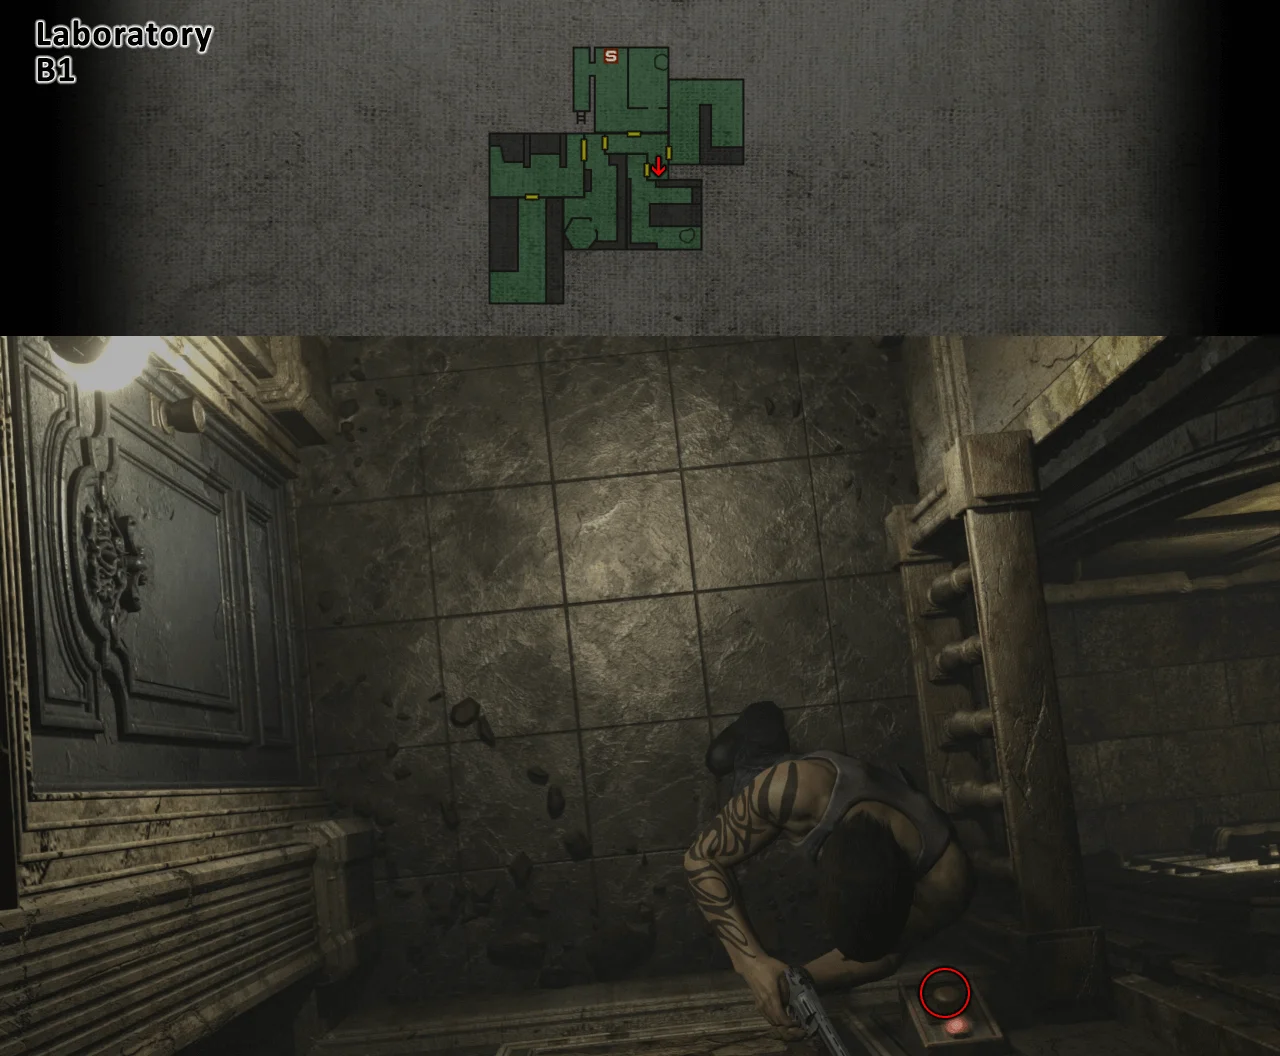
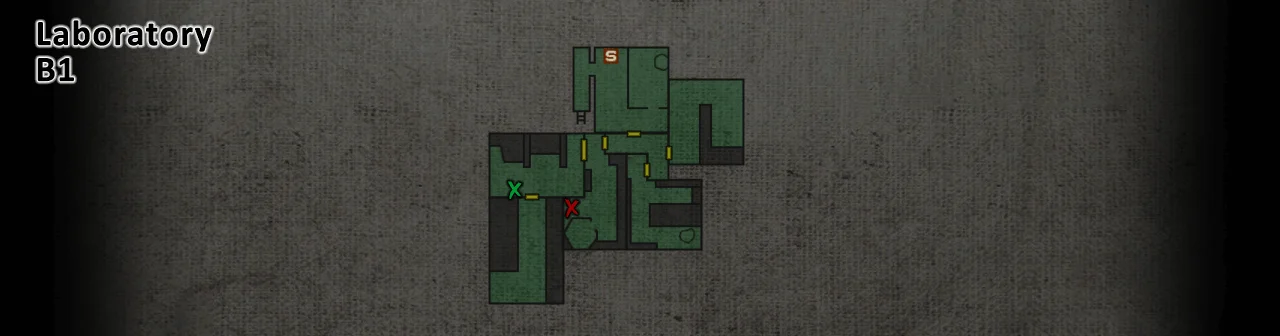
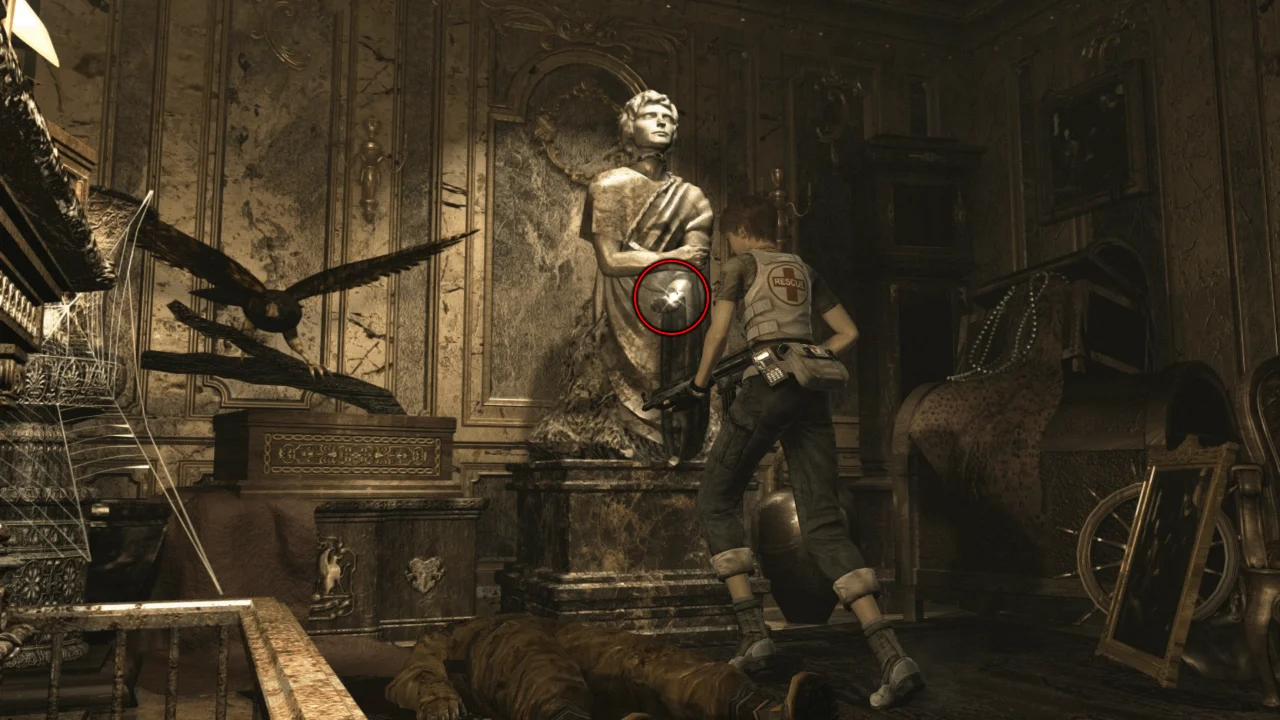
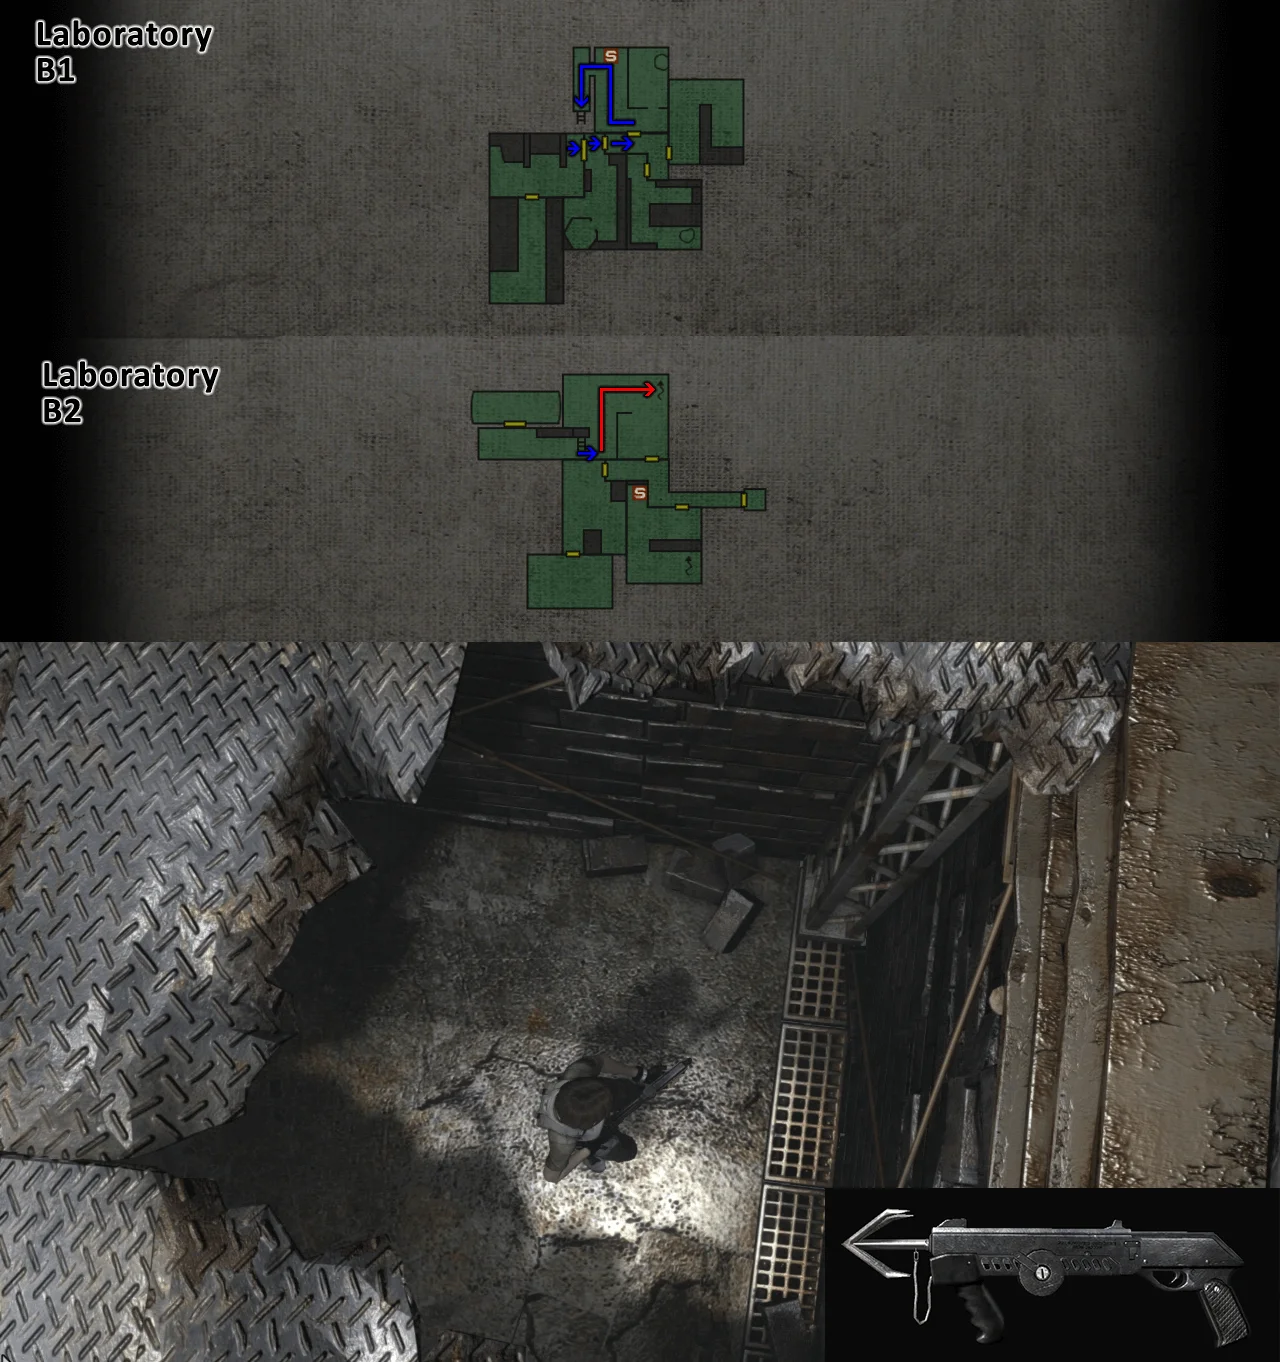
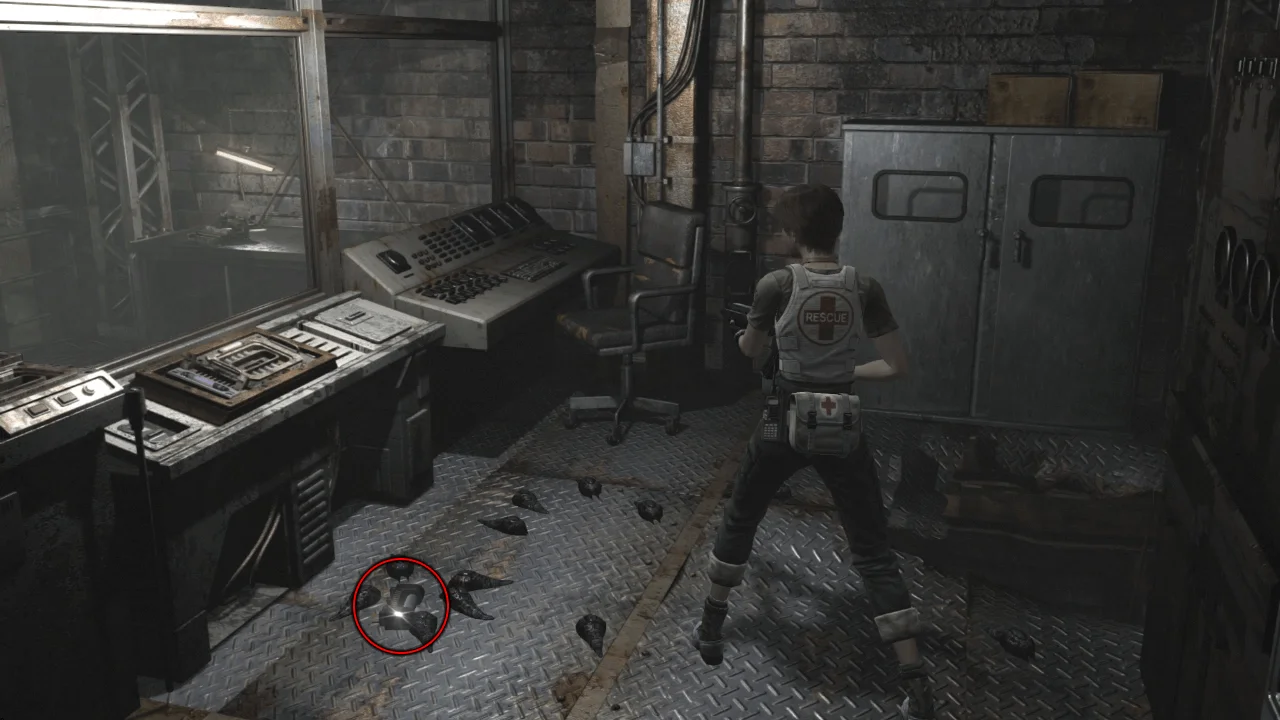
After leaving the Training Facility, have Rebecca step on the tile as shown below
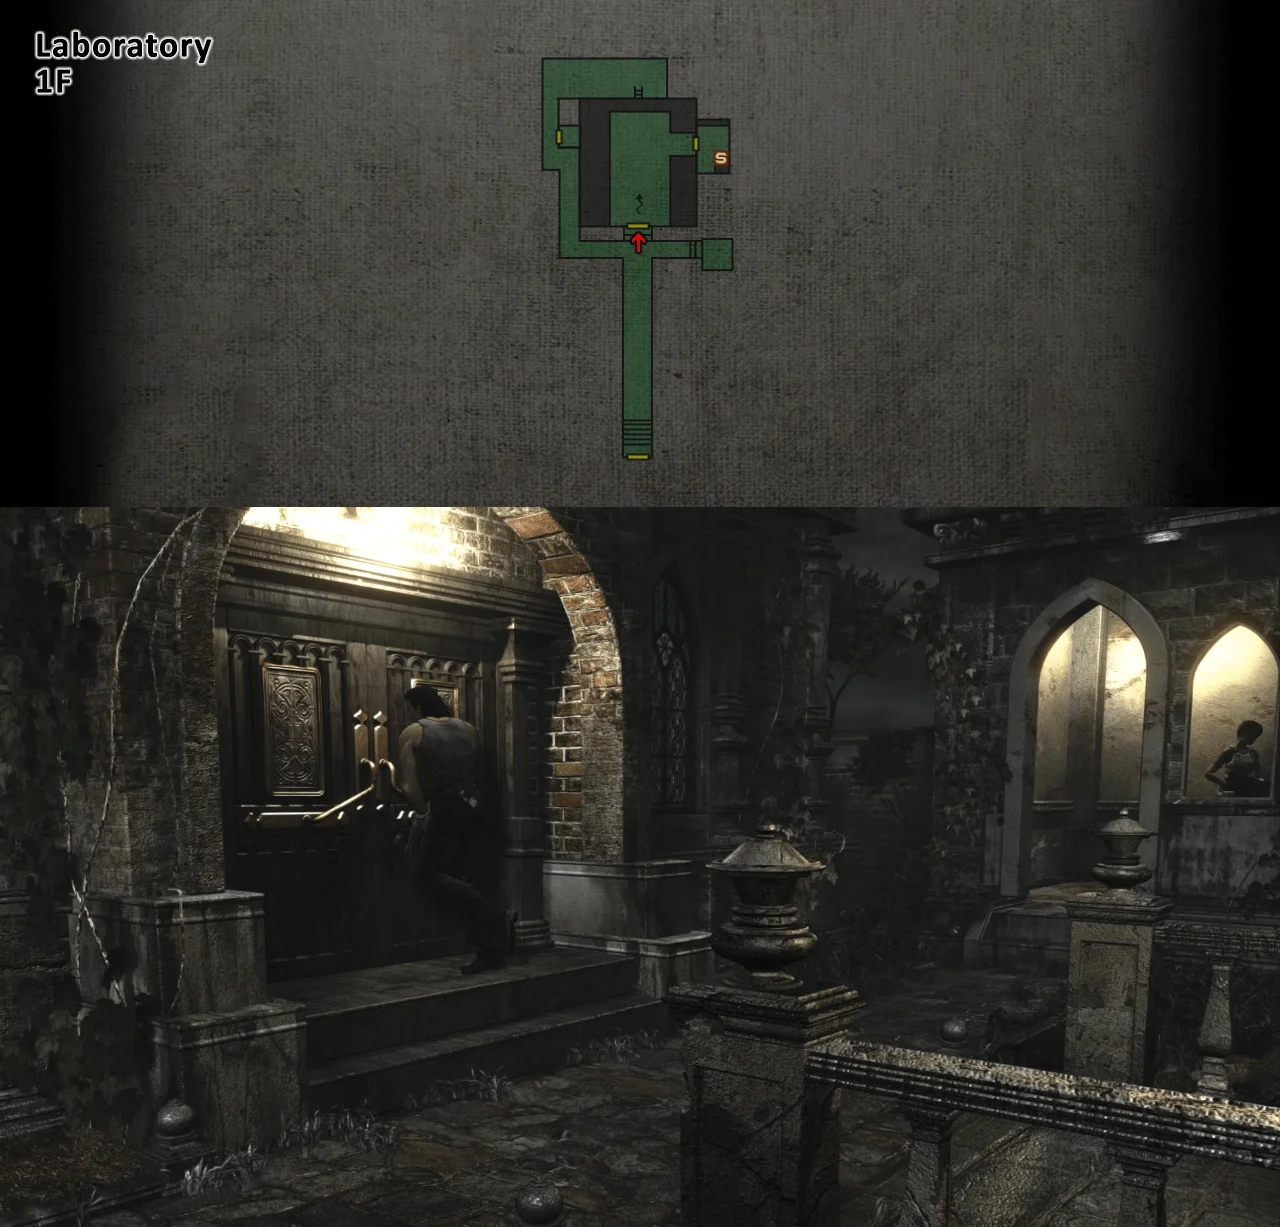
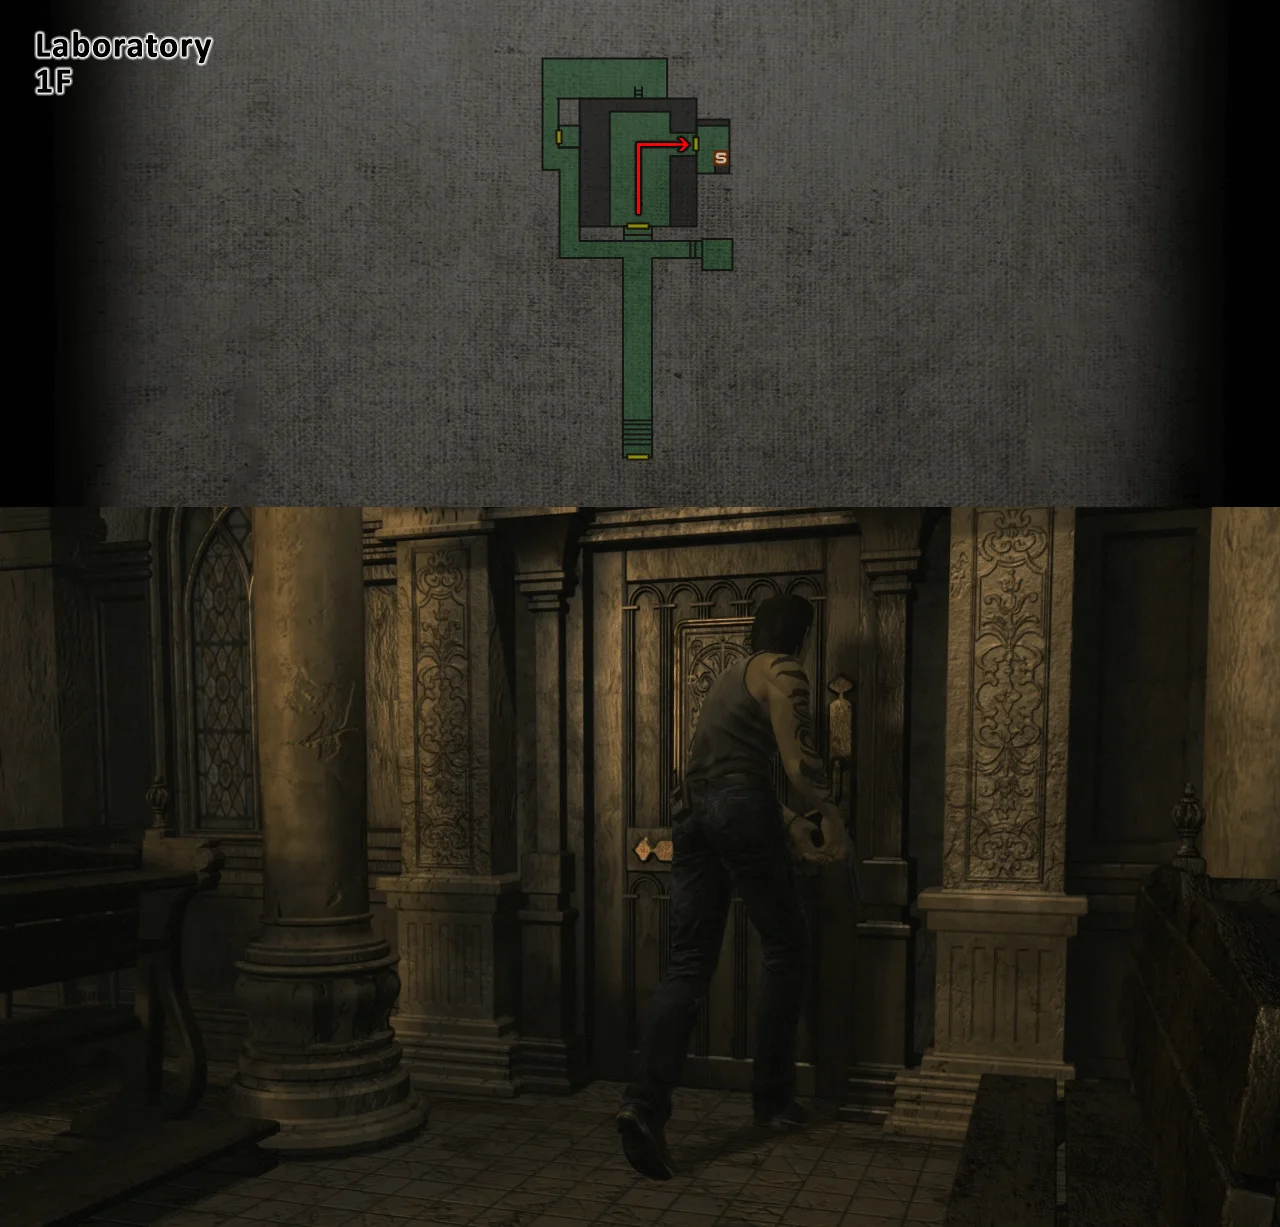
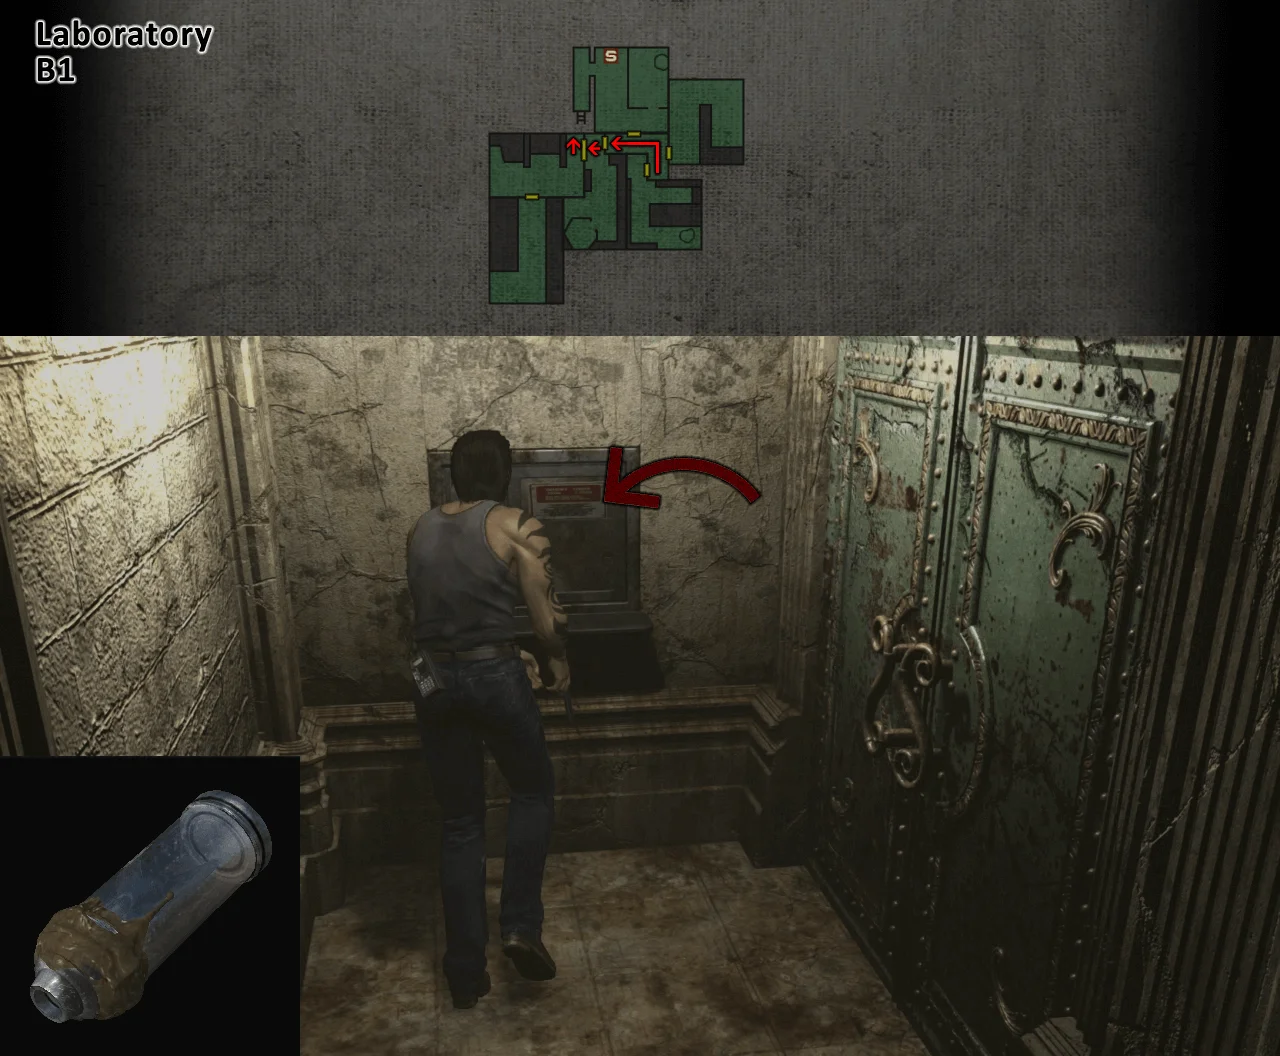
Have Billy equip the Grenade Launcher and enter the church
Go through the next door


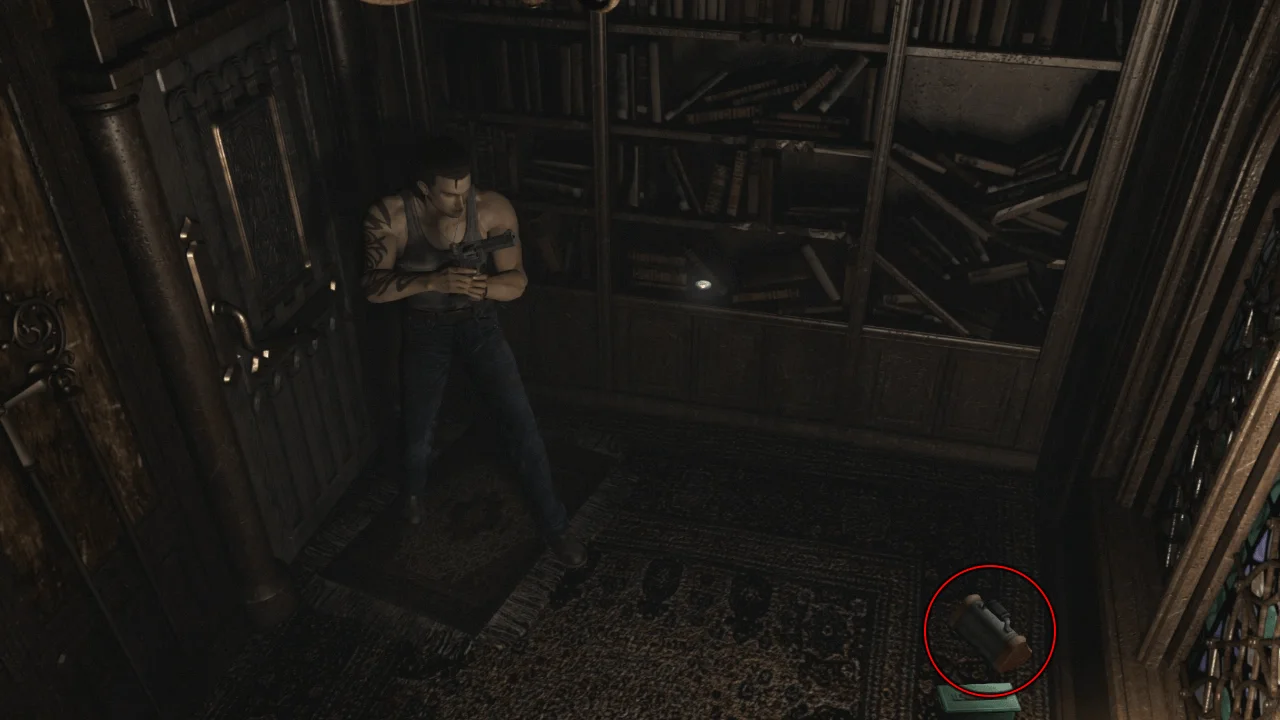
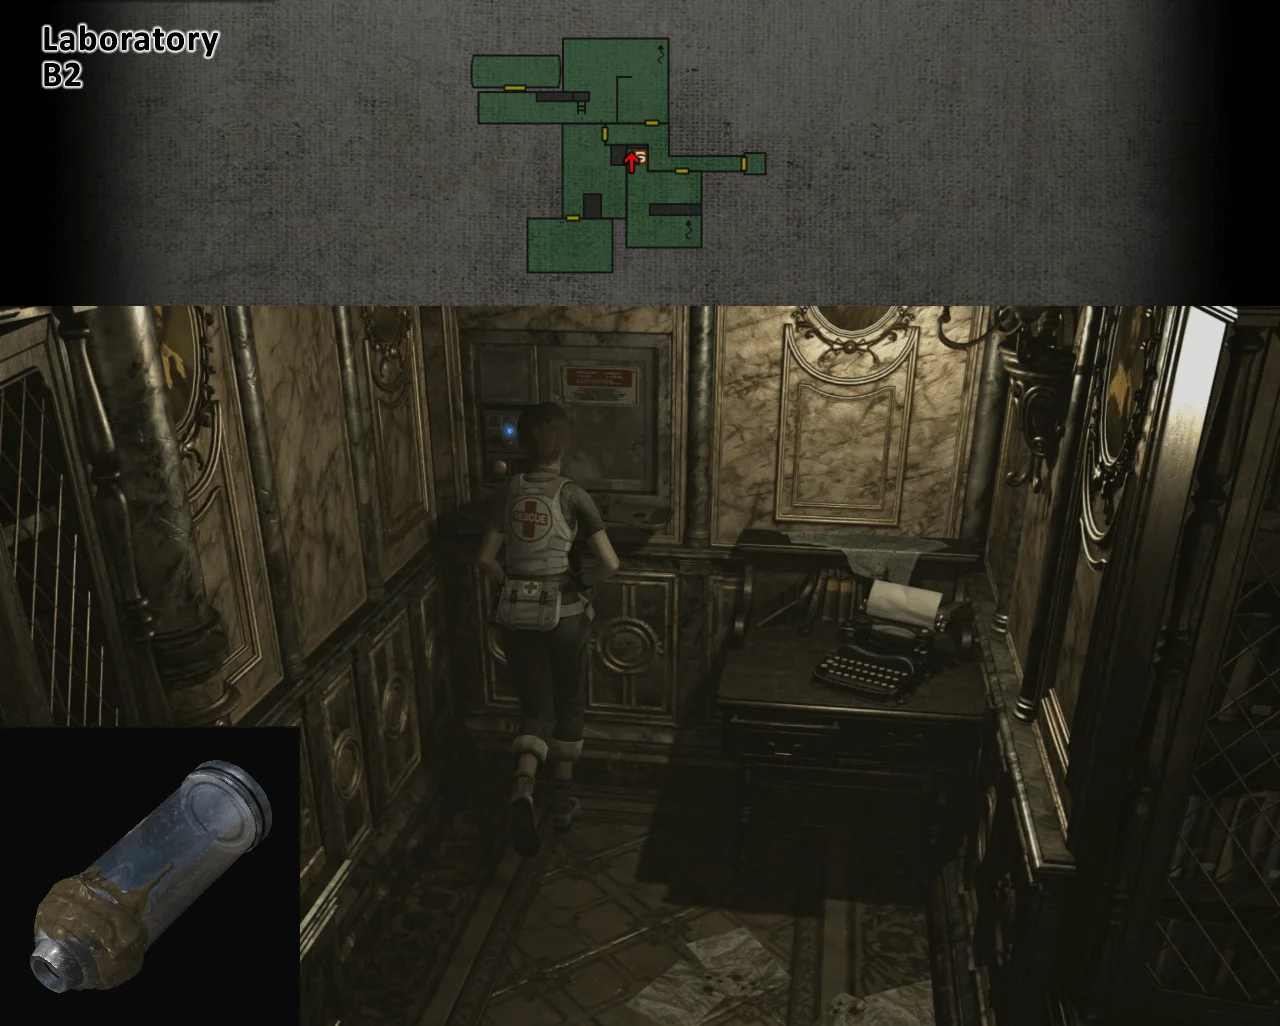
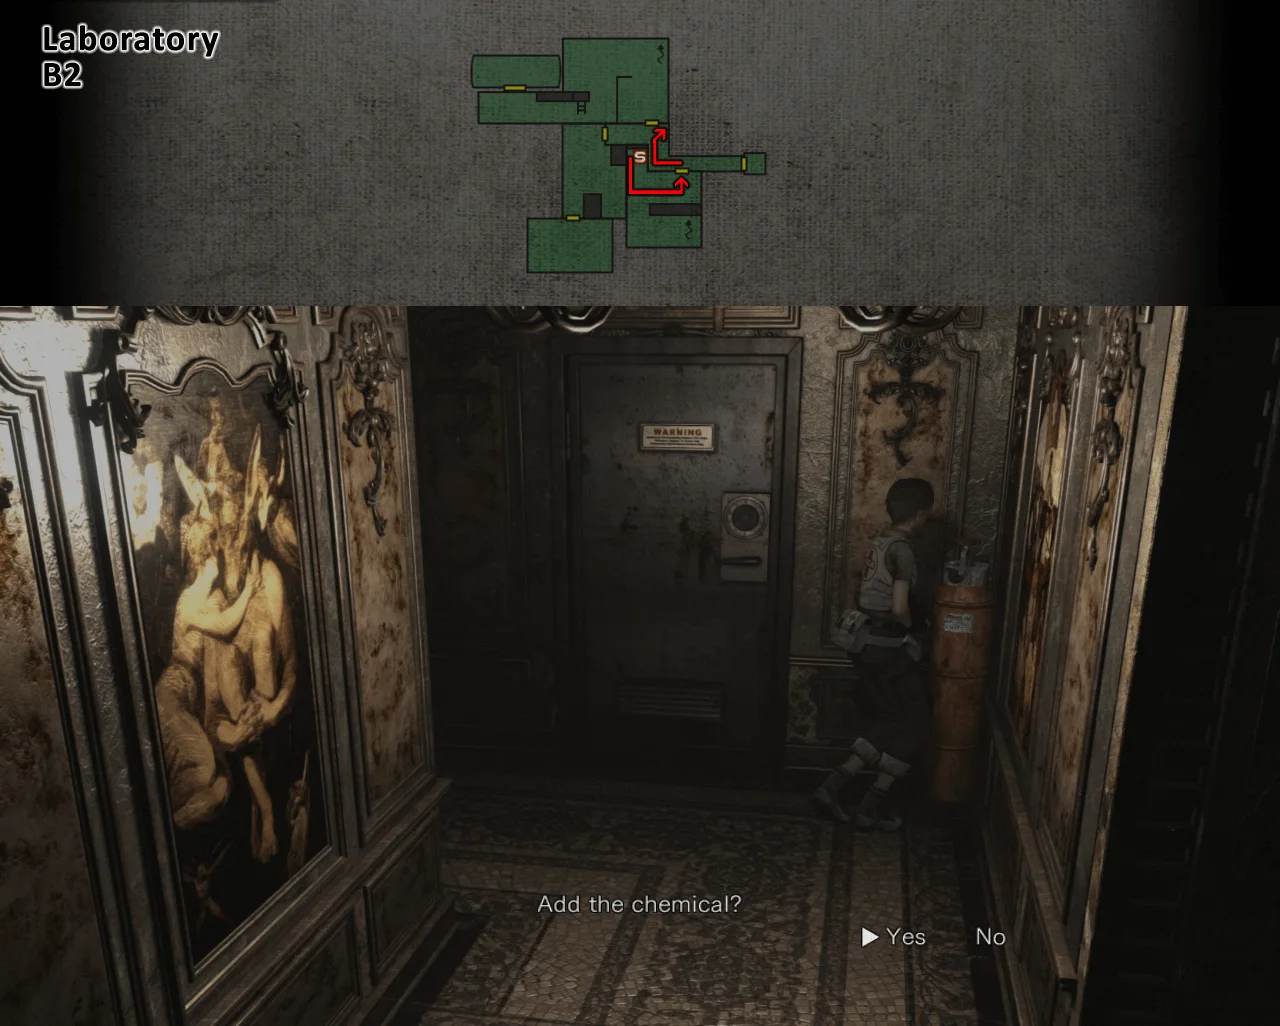
Pick up the Incendiary Shells and load them in your Grenade Launcher then save the game;
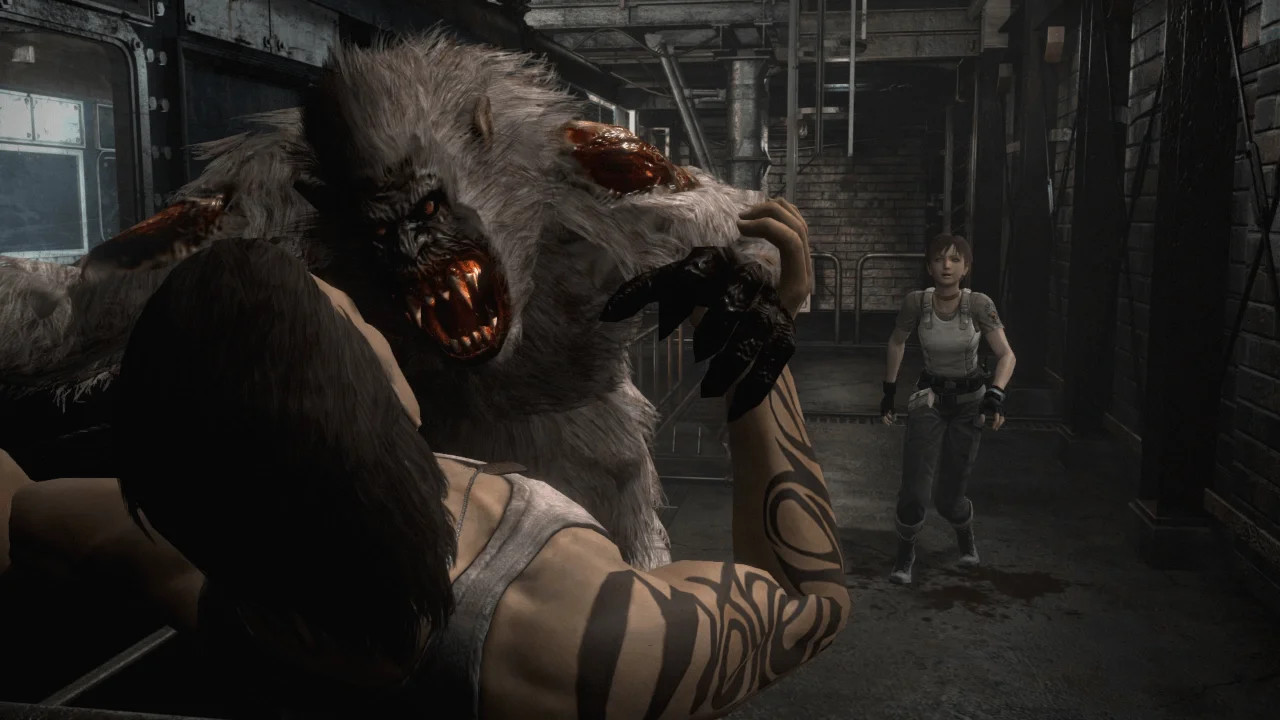
Leave the room and prepare to fight the 3rd Boss, Infected Bat
After the cutscene, aim up at the Infected Bat with your Grenade Launcher and wait for it to attack you;
While aiming up, you can press "Q" to keep locking on the Bat;
Once it's close enough, shoot it and it will get stun locked;
Keep shooting consecutively and you will defeat it without a sweat.
Here is a video showing how to defeat the Infected Bat with the Grenade Launcher:
Youtube Video
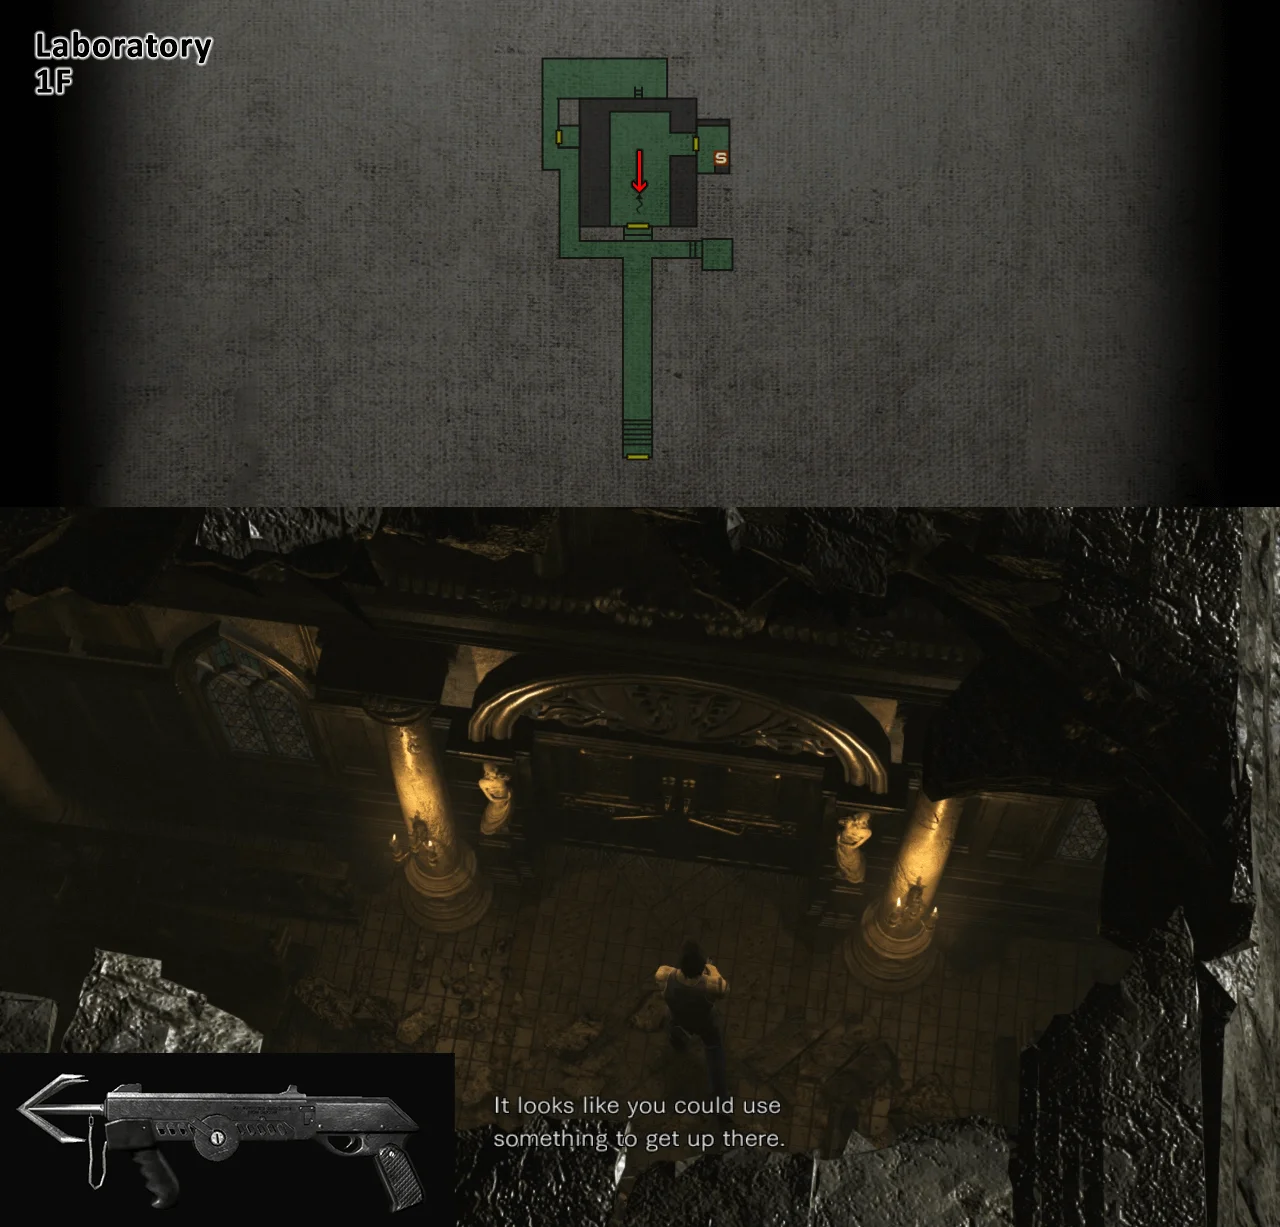
After defeating the Infected Bat, get near the exit door and use the Hookshot to climb to the roof
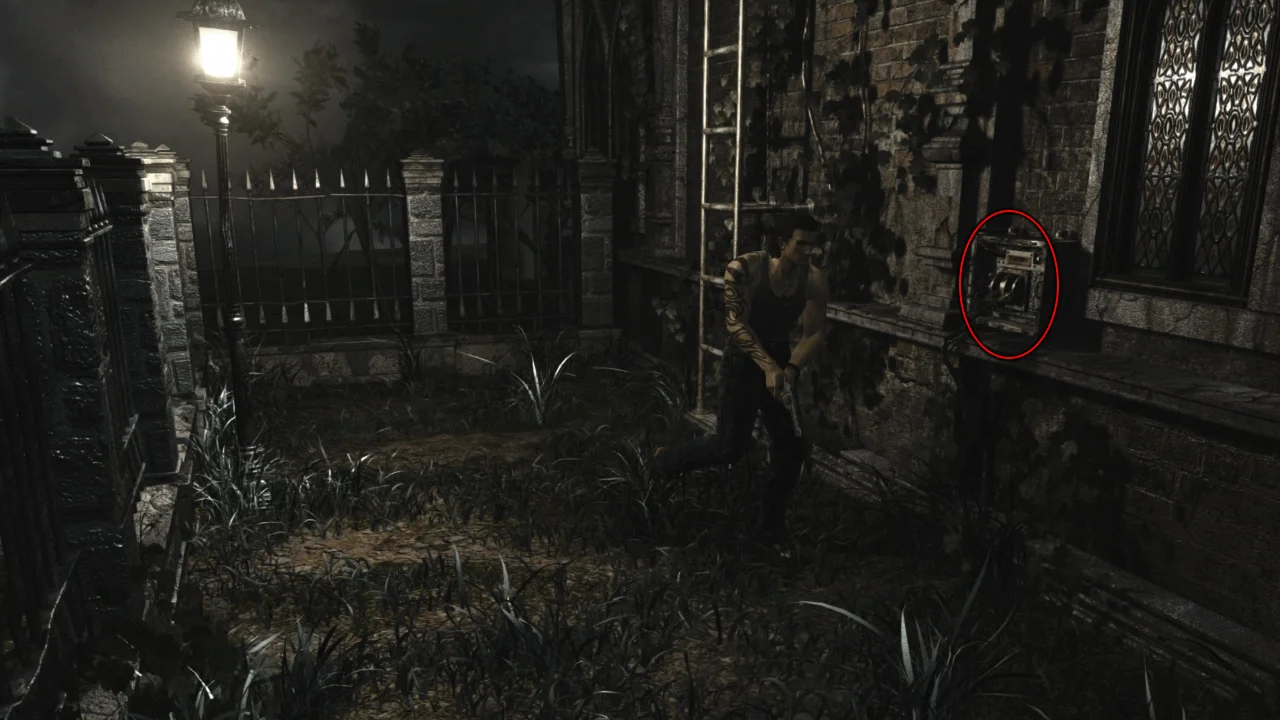
Get down the ladder

Pull up the lever to restore power to the elevator
Regroup and get in the elevator

Go through the door
Save your game and have Billy climb to the upper floor using the Hookshot.
(The upper floor has more enemies, therefore, it's better to use Billy; although if you didn't put the Green Chemical in Rebecca's Mixing Set and you don't want to go back to the Training Facility, have Rebecca climb up as both the Green and Red Chemicals are available in the top floor;
this walkthrough will continue with Billy going up)
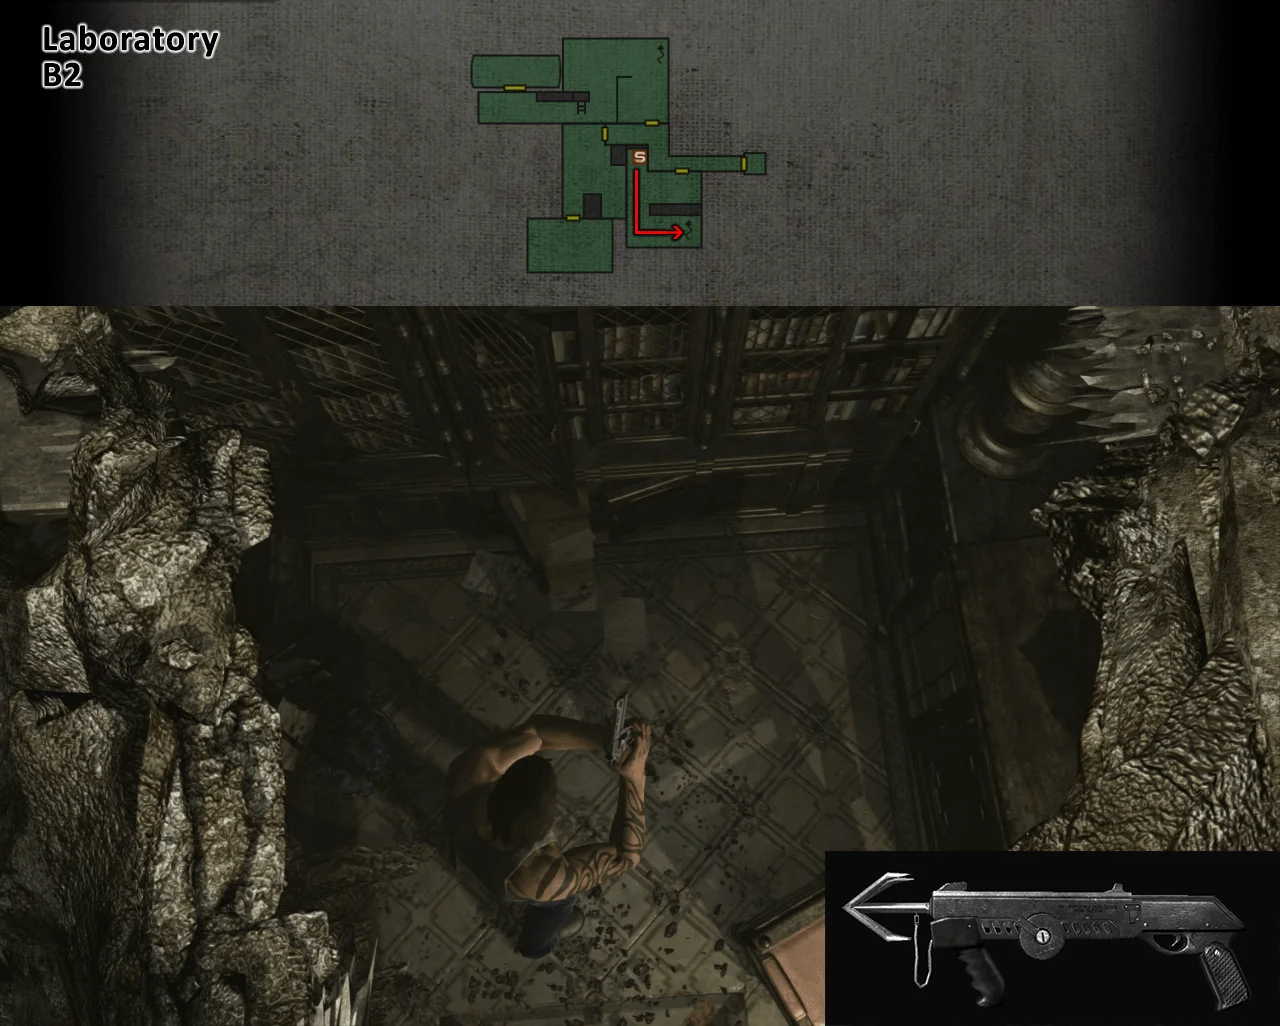
Defeat Mimicry Marcus and pick up the Leech Capsule
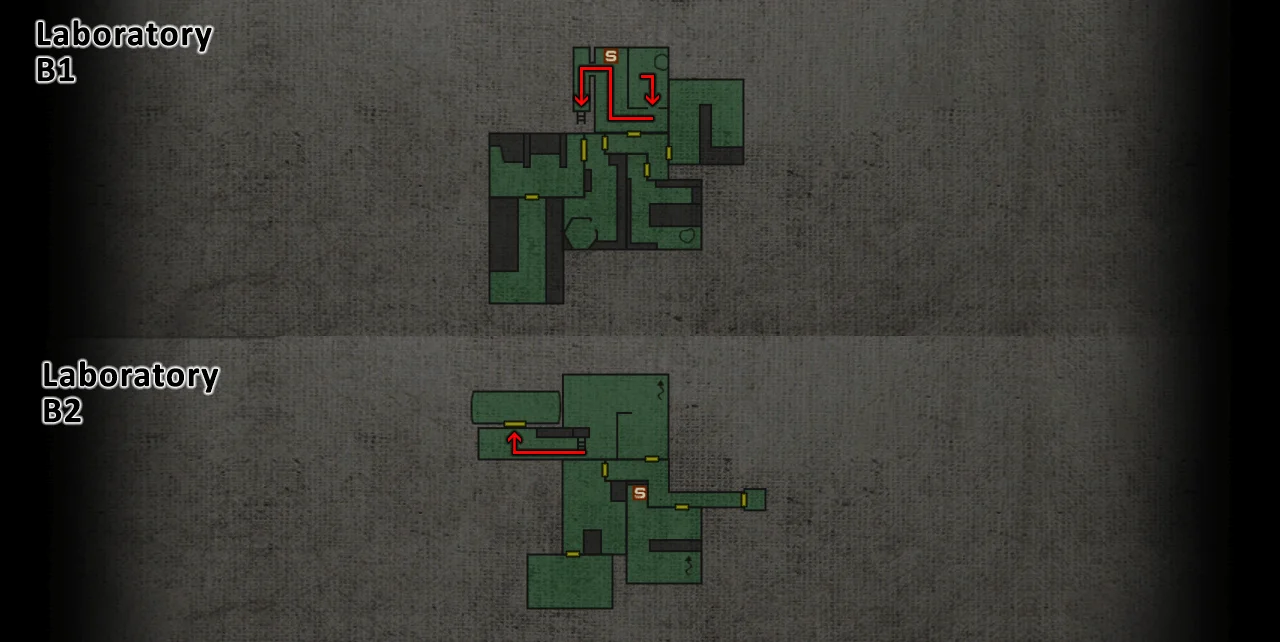
Pick up the Laboratory Map and exit the room
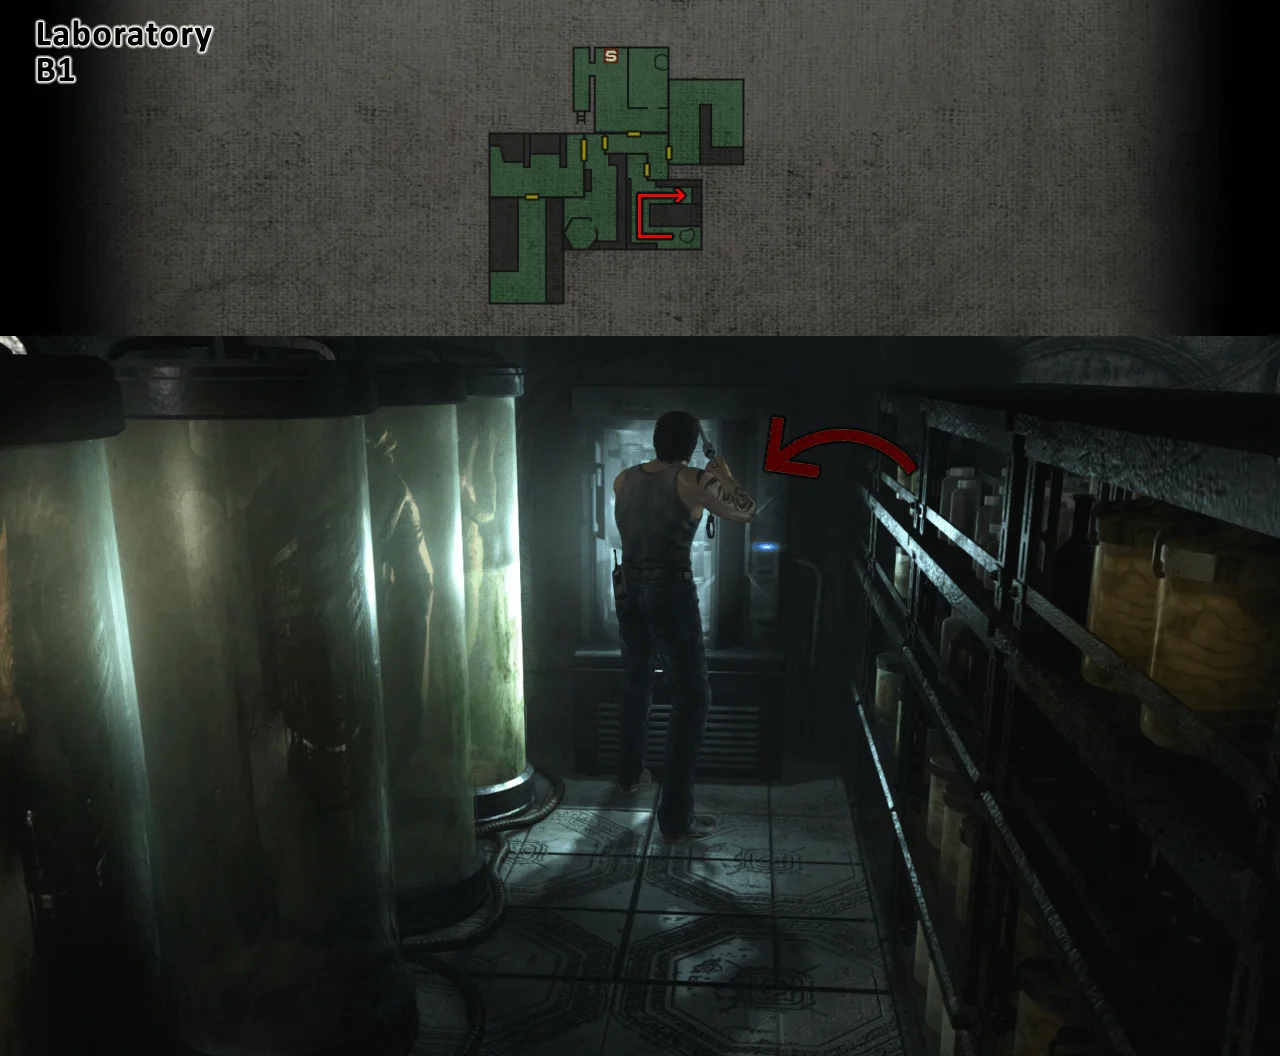
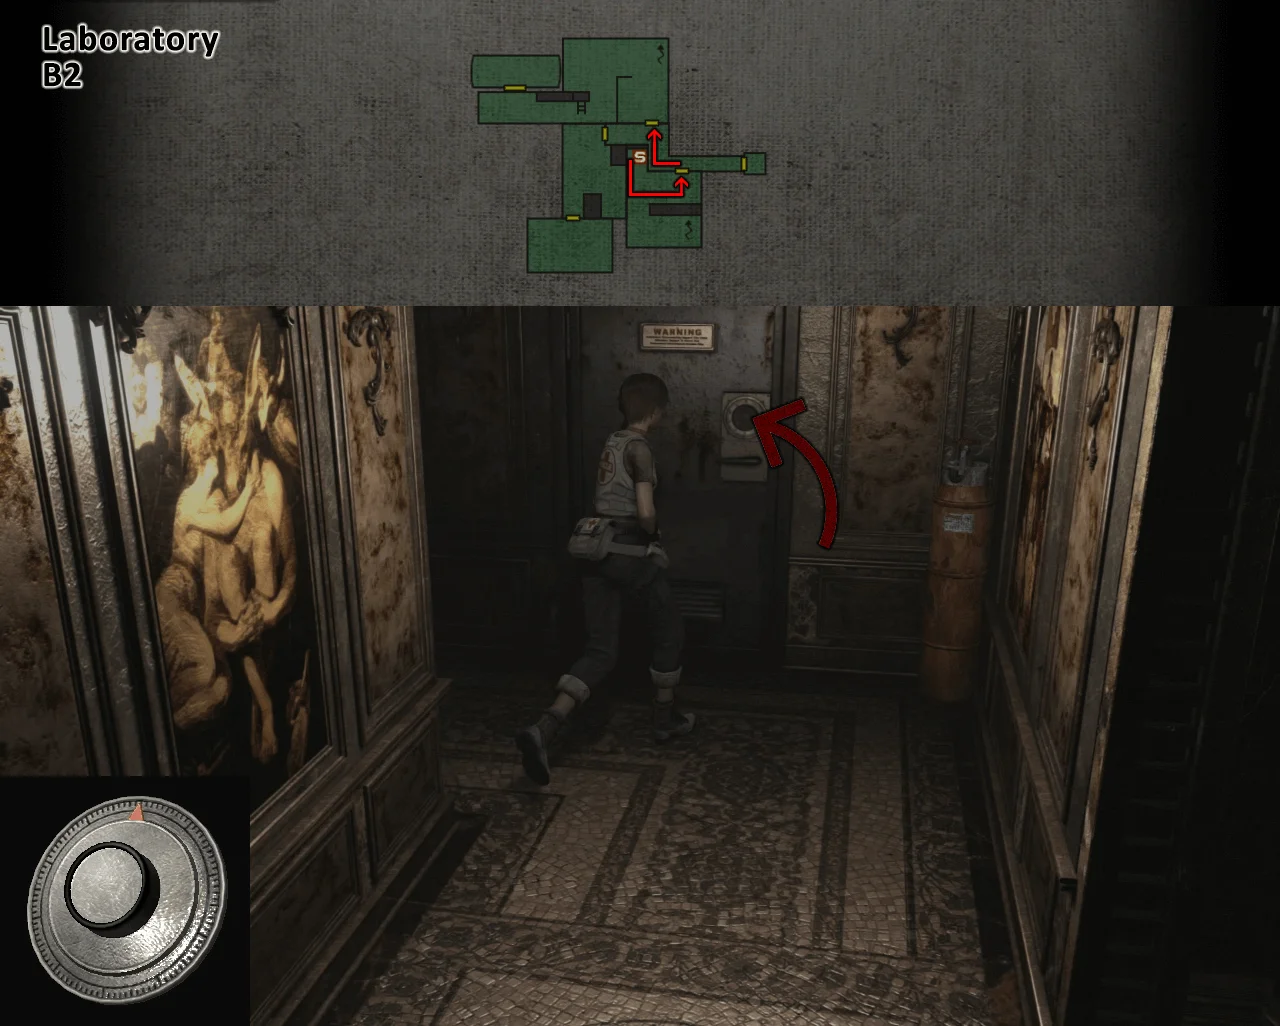
Push the button to open a new path for Rebecca
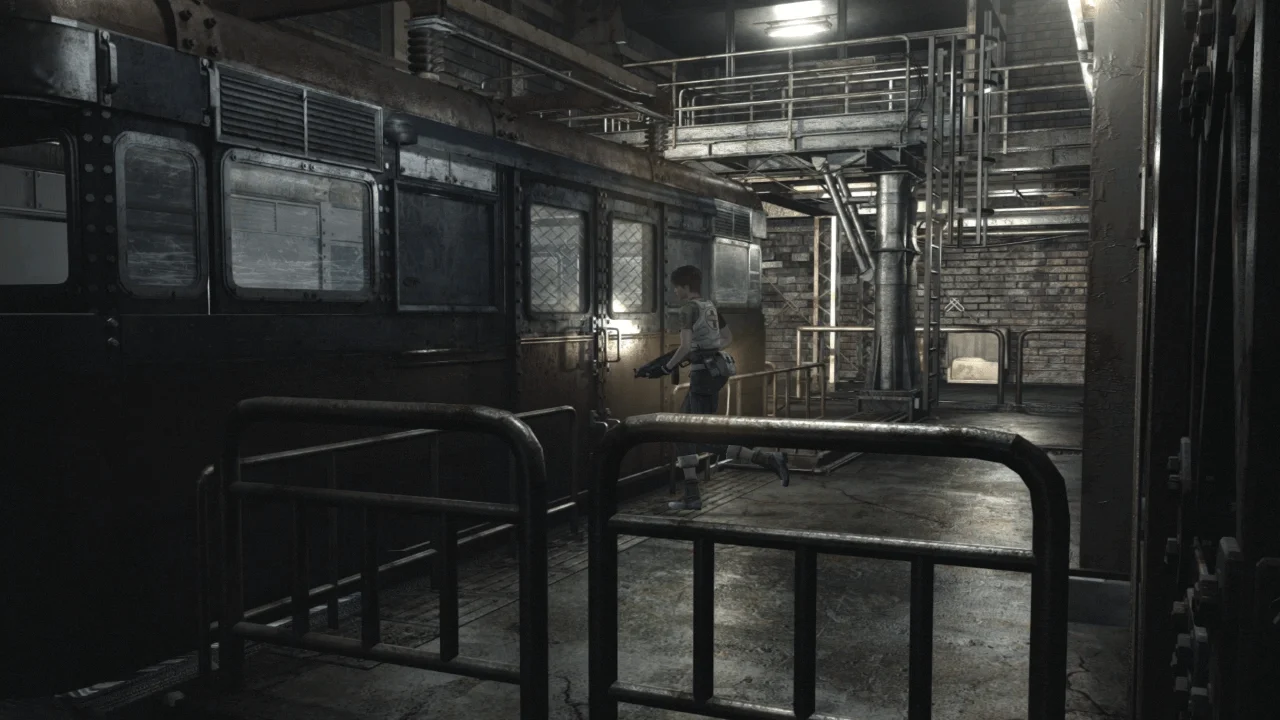
Continue with Billy to the room shown below and use the lift to send Rebecca the Leech Capsule
Pick up the Leech Capsule
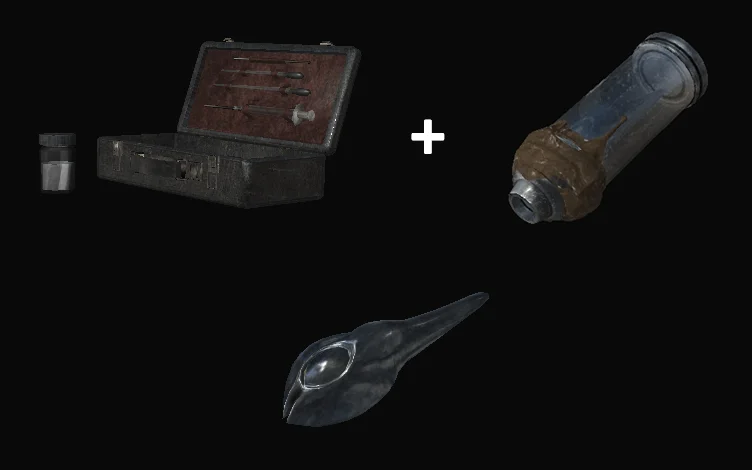
Go defeat Mimicry Marcus then take the Red Chemical and mix it with the Green Chemical to make the Stripping Agent
(you know that from the File "First Investigation Unit Notes")
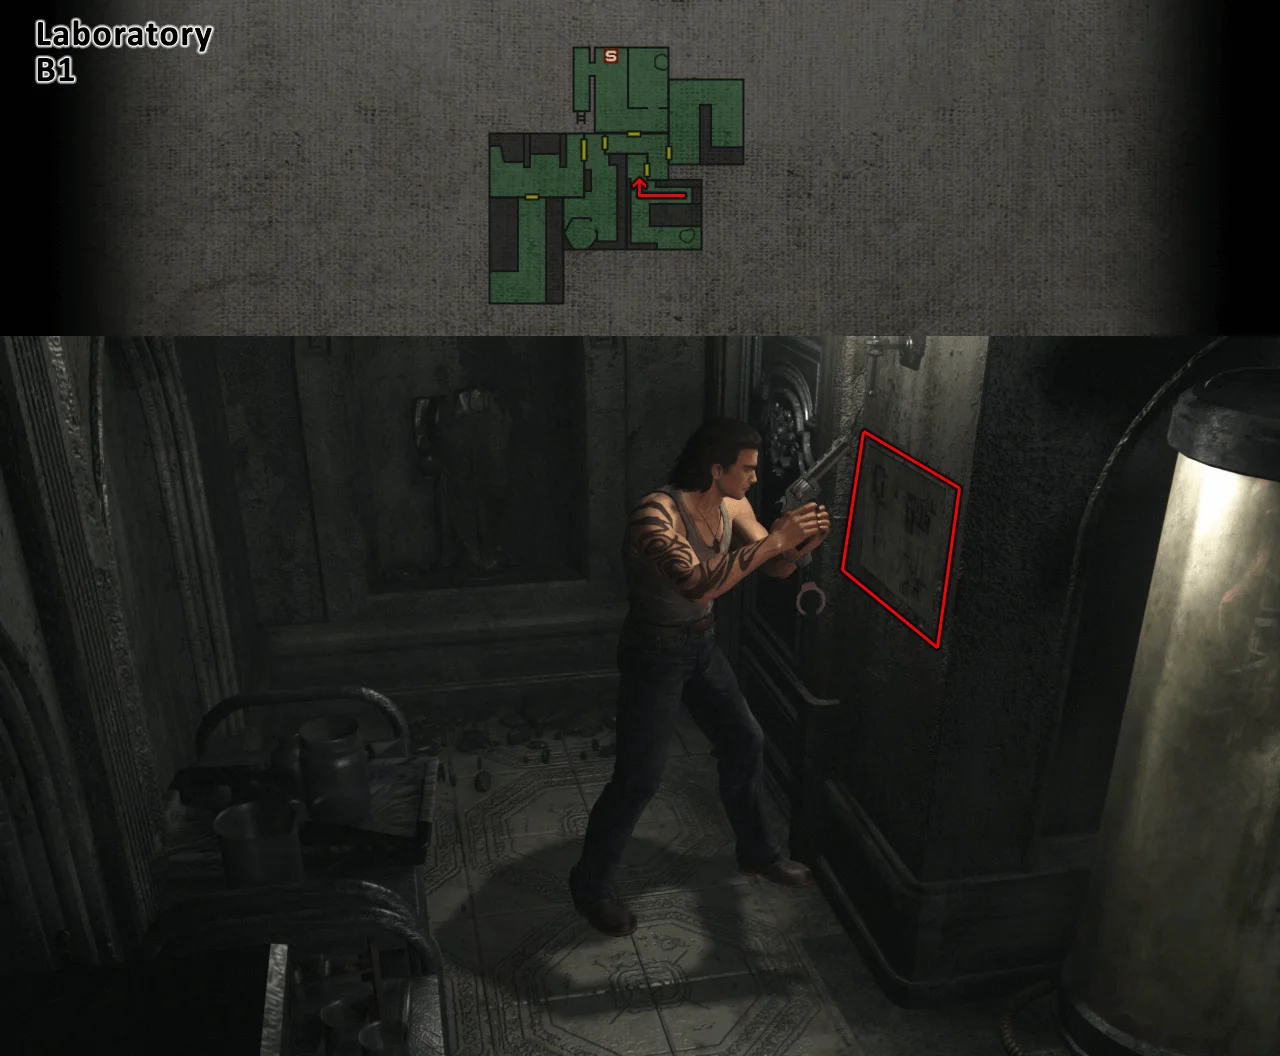
If you had Rebecca go to the upper floor, here is the location of both Red and Green Chemicals
Combine the Stripping Agent with the Leech Capsule to get the Blue Leech Charm
Use the Blue Leech Charm to unlock the door and go through
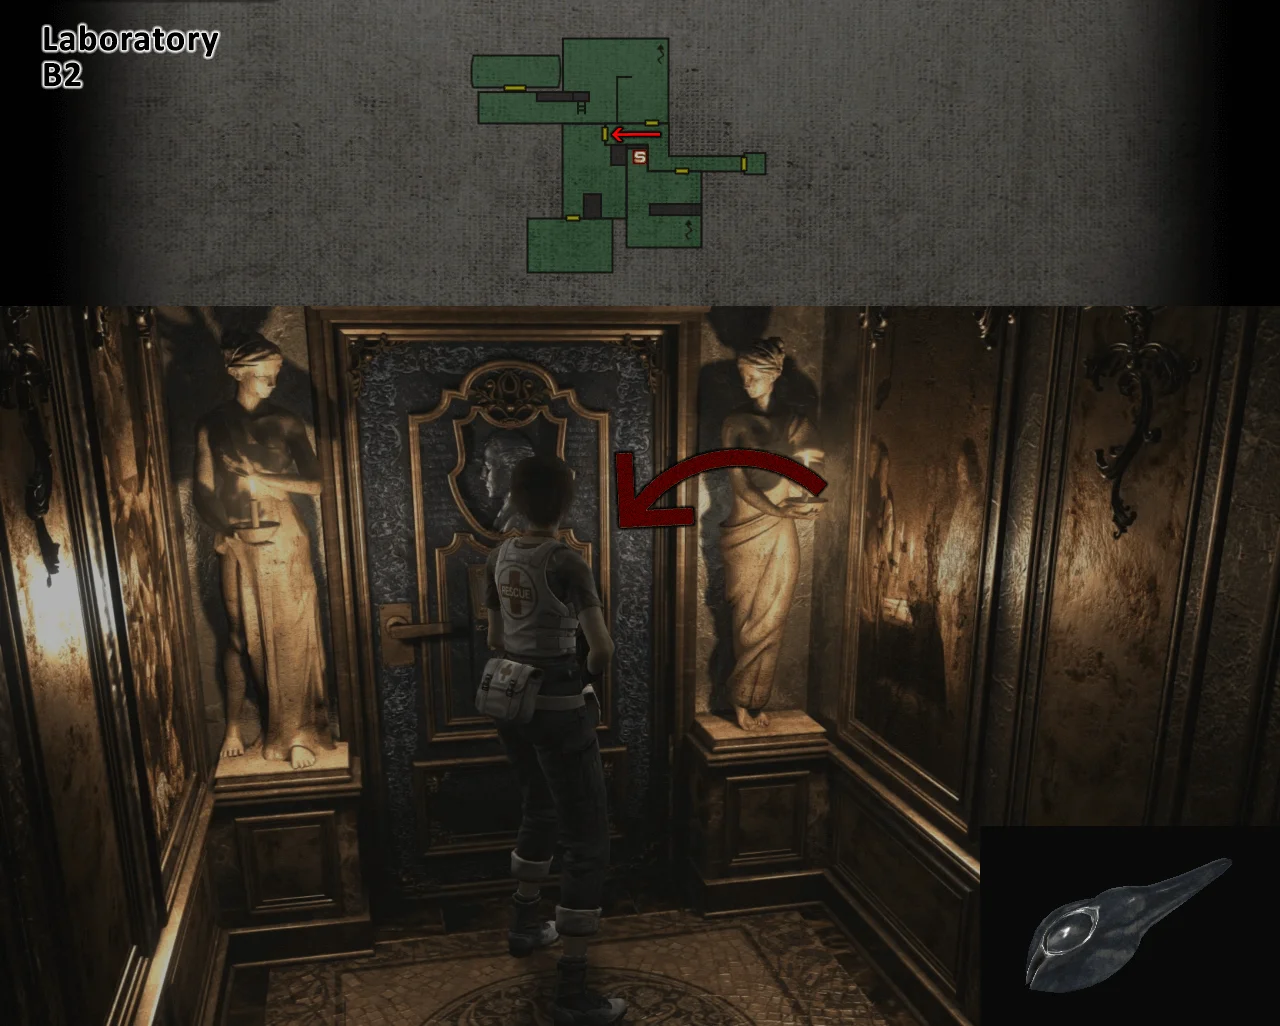
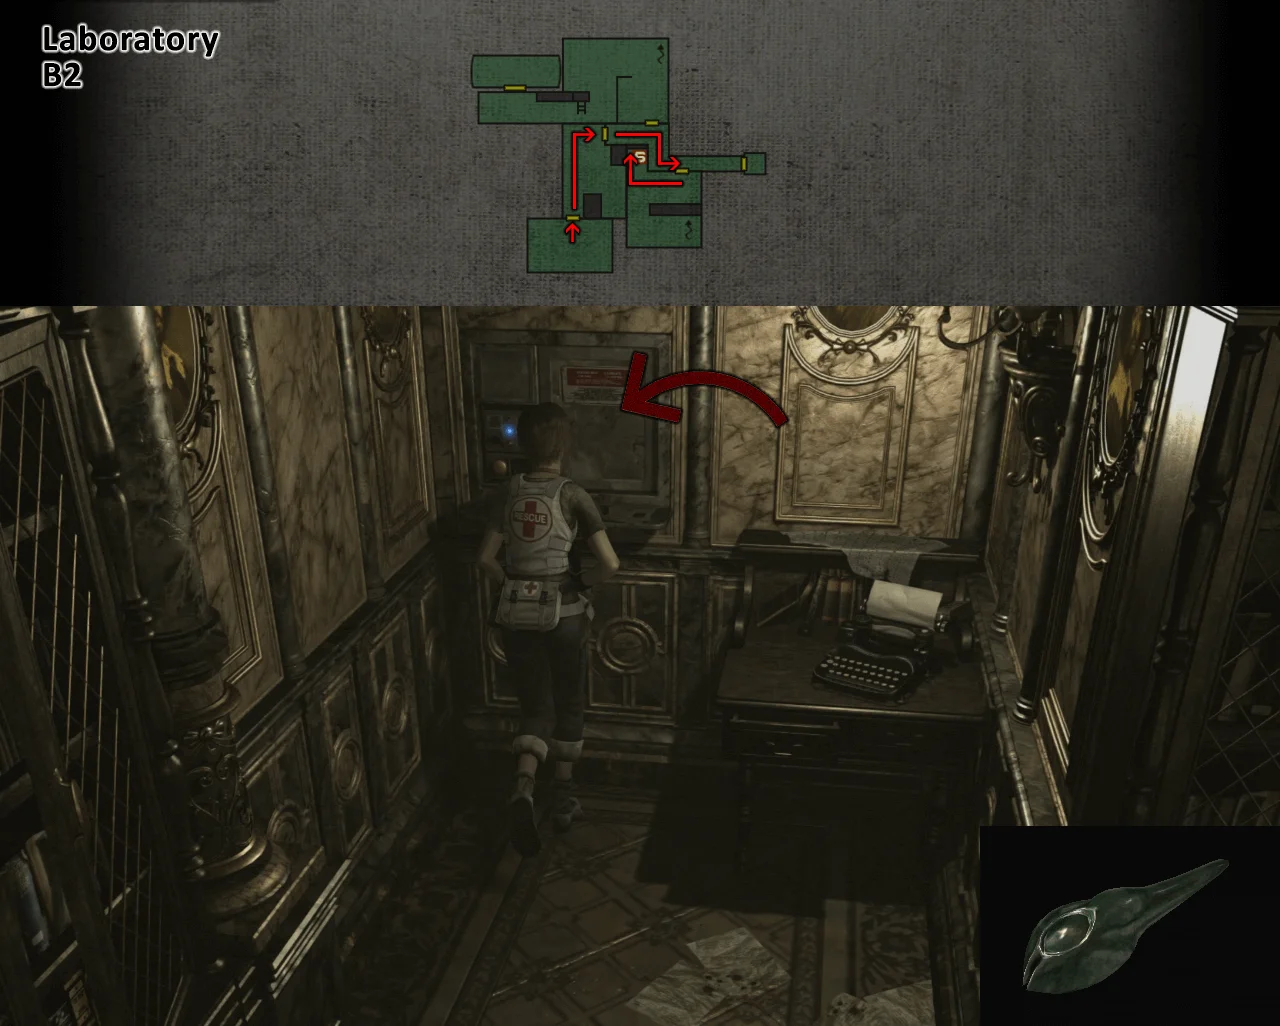
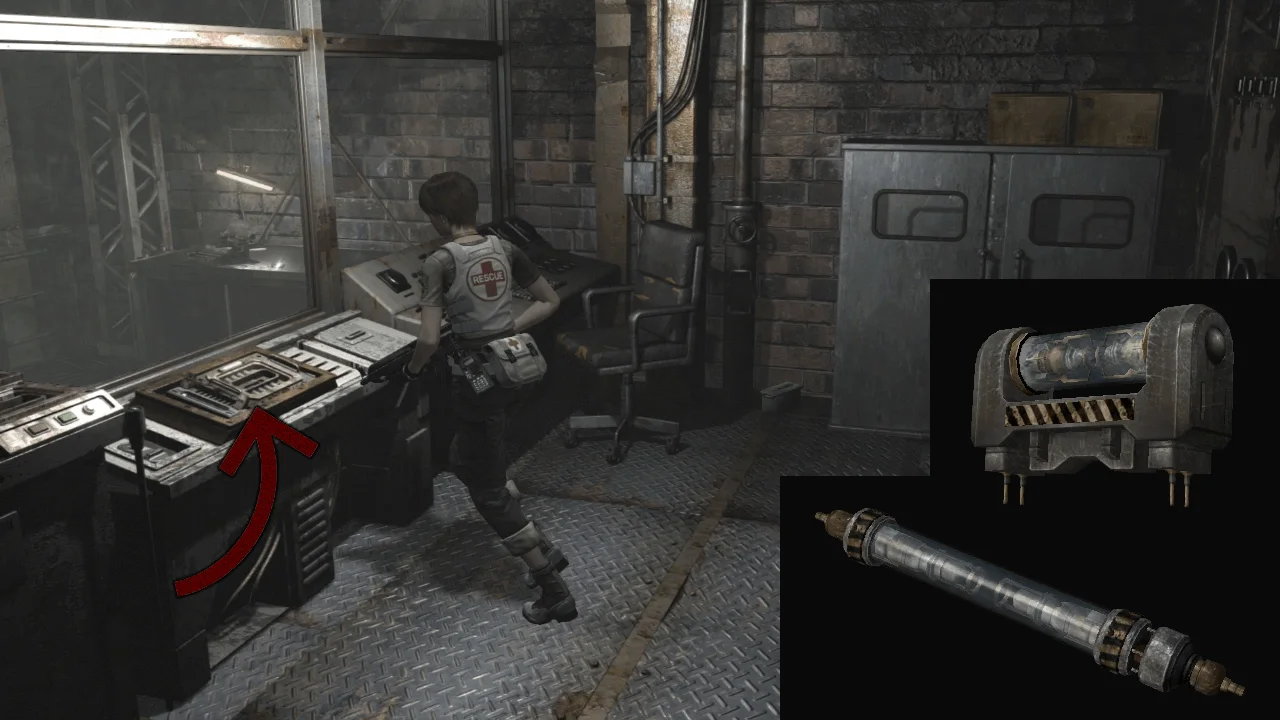
Pick up the Input Reg. Coil and go to the next room
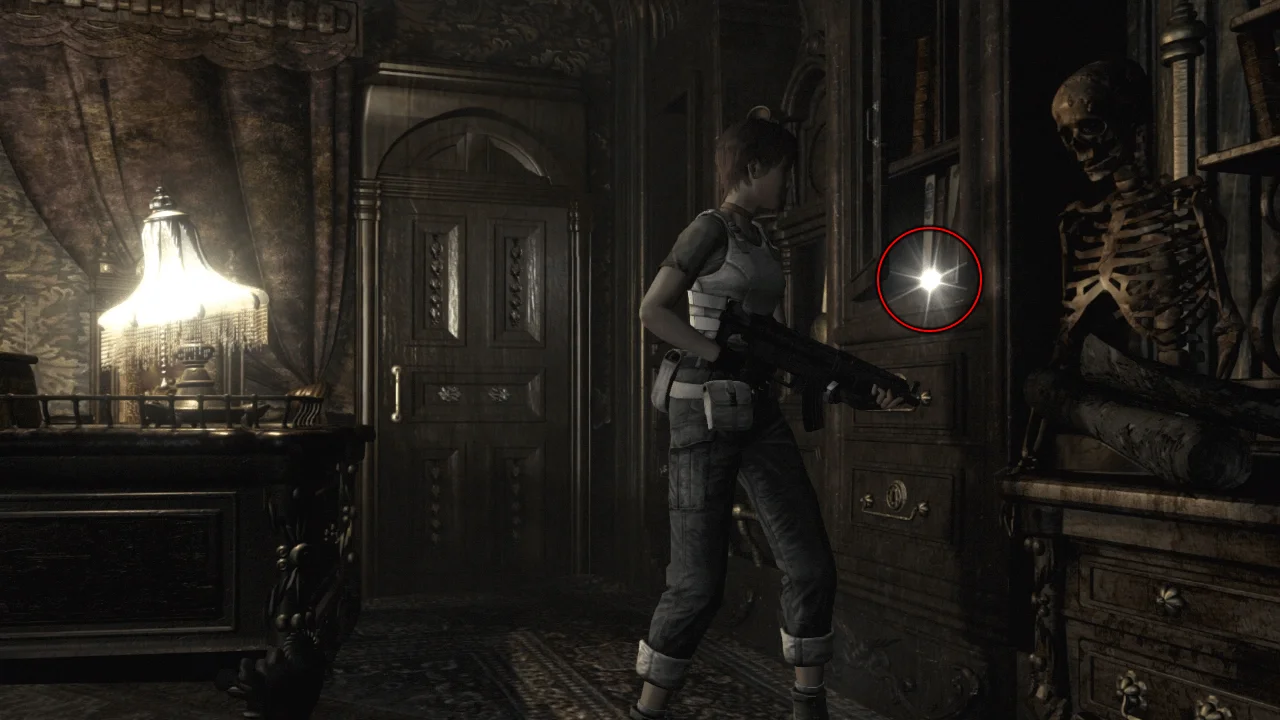
Pick up the Green Leech Charm
Send the Green Leech Charm to Billy
Use the Green Leech Charm to unlock the door and go through
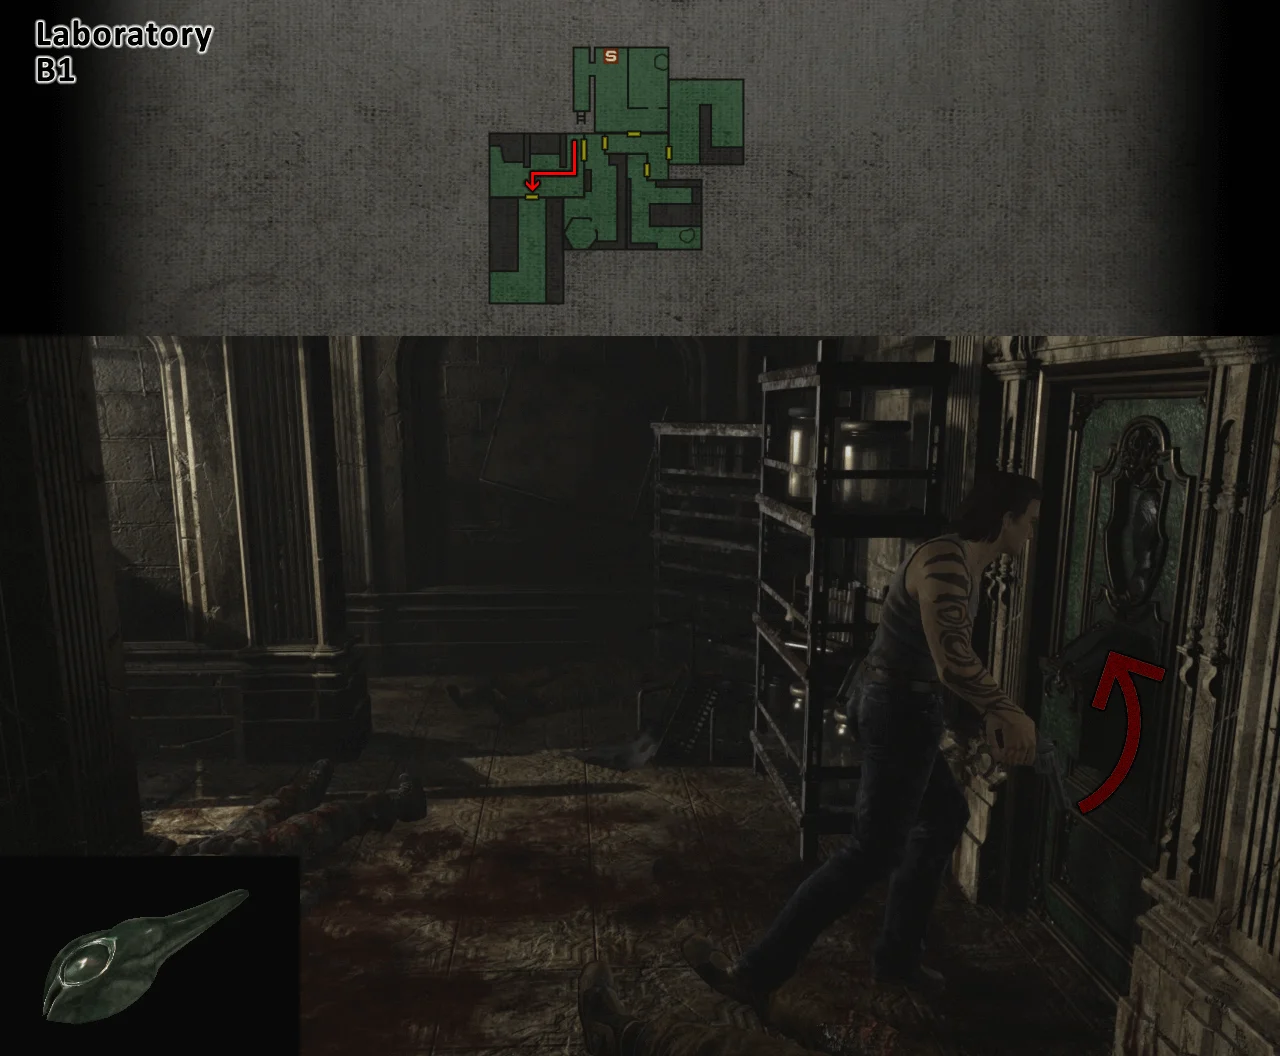
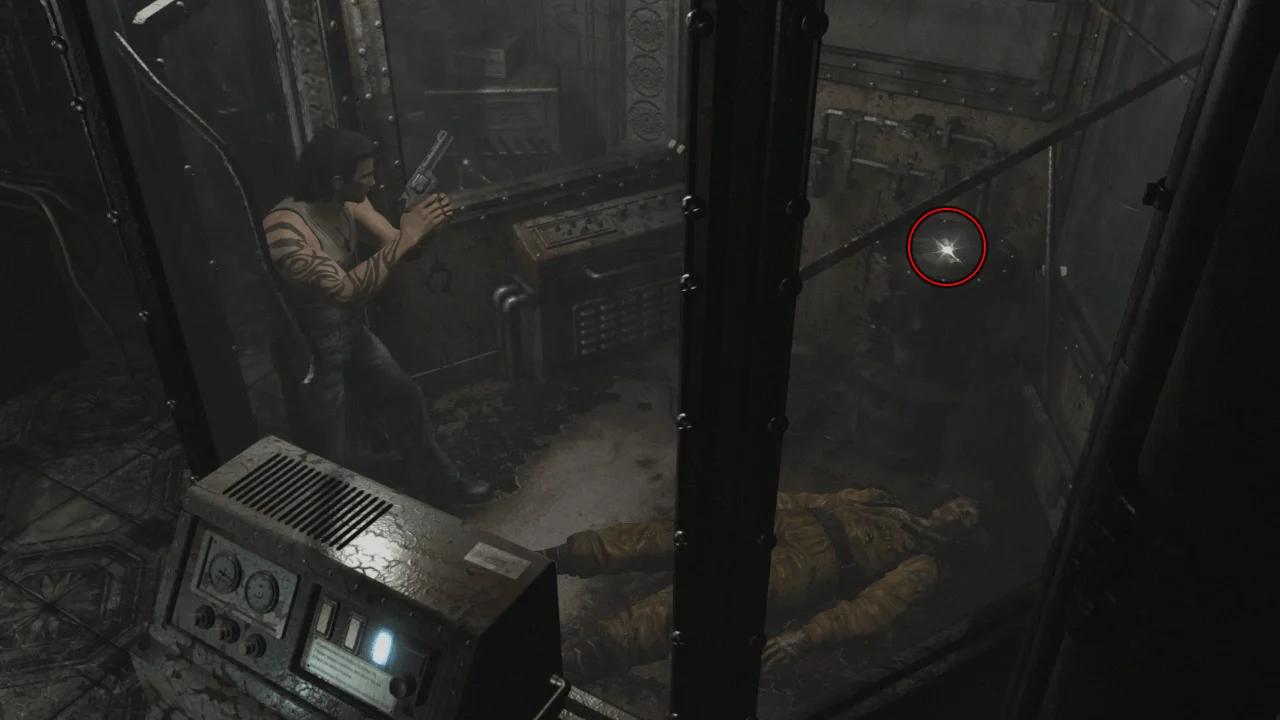
Pick up the Sterilizing Agent
Leave the room and use the Sterilizing Agent to clear the gas
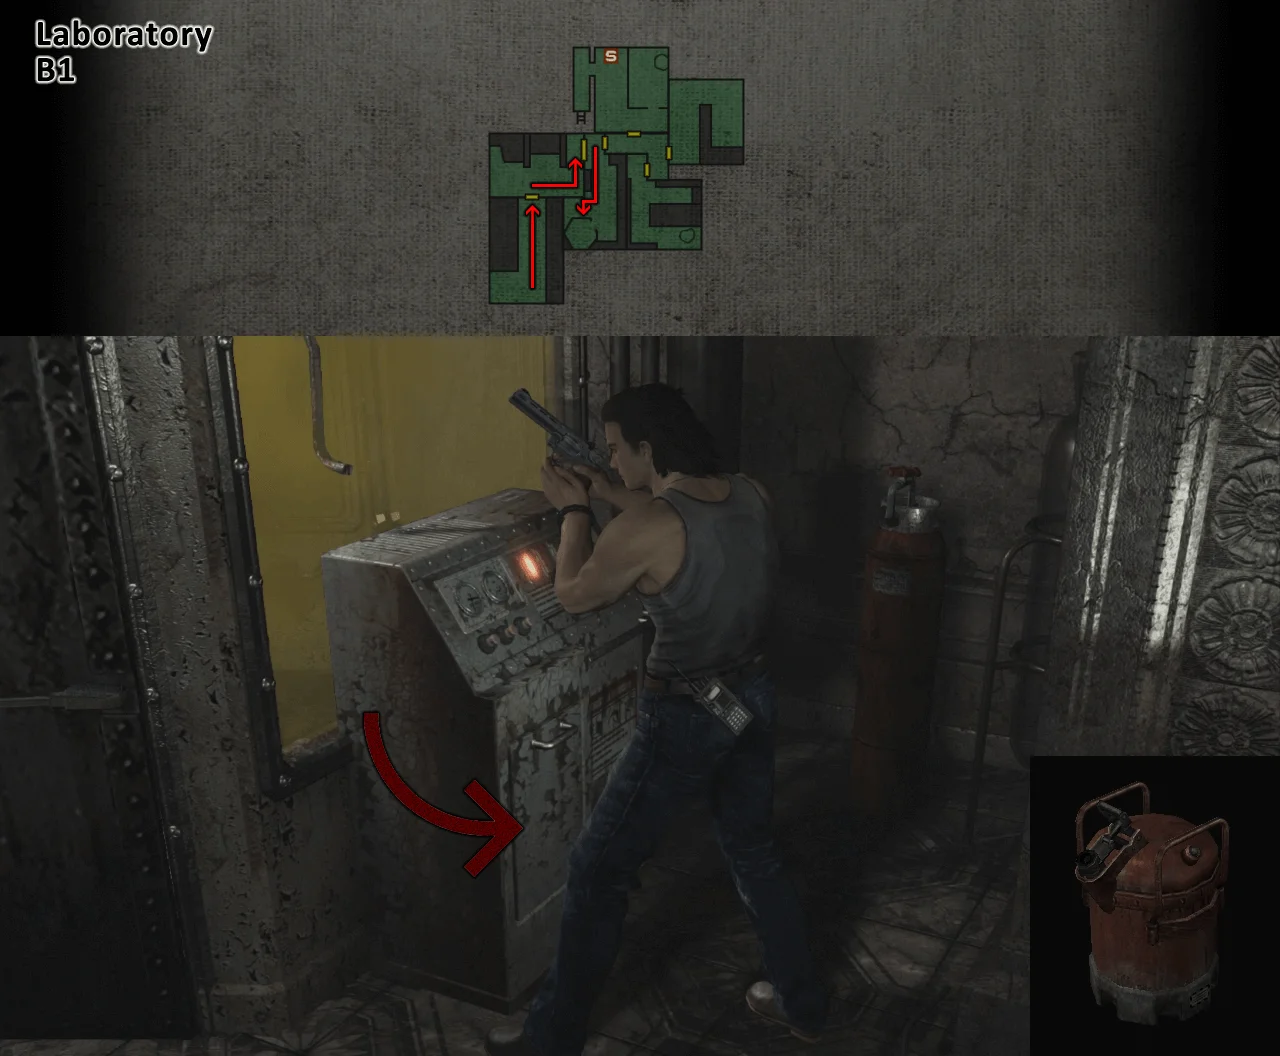
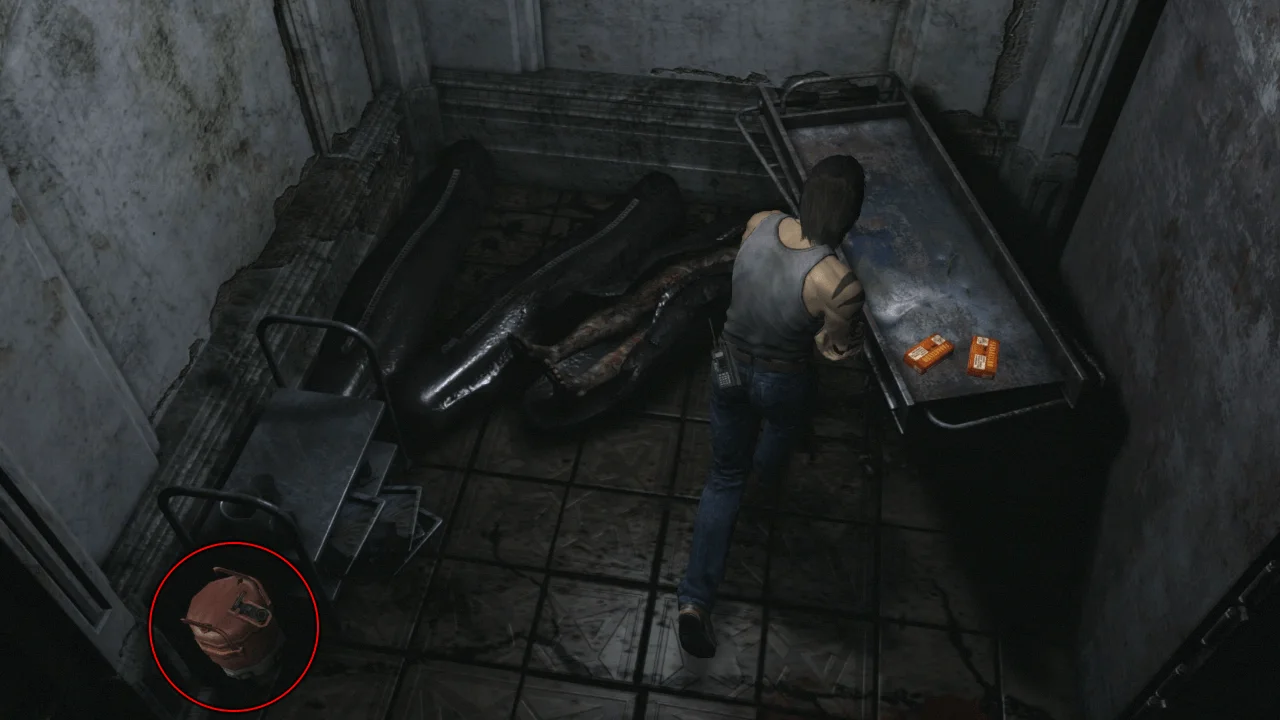
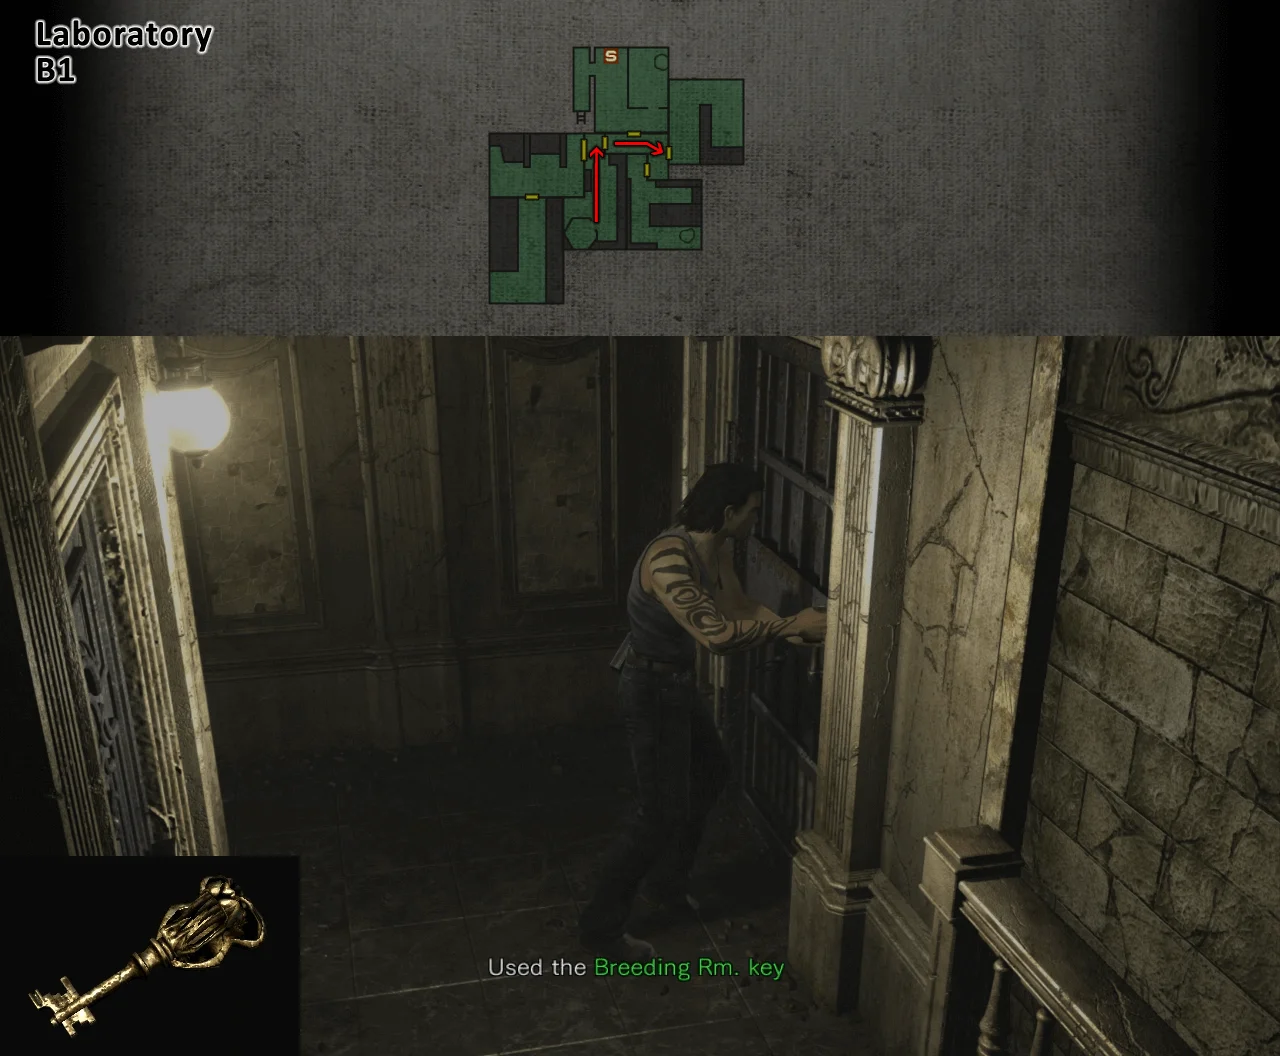
Pick up the Breeding Room Key
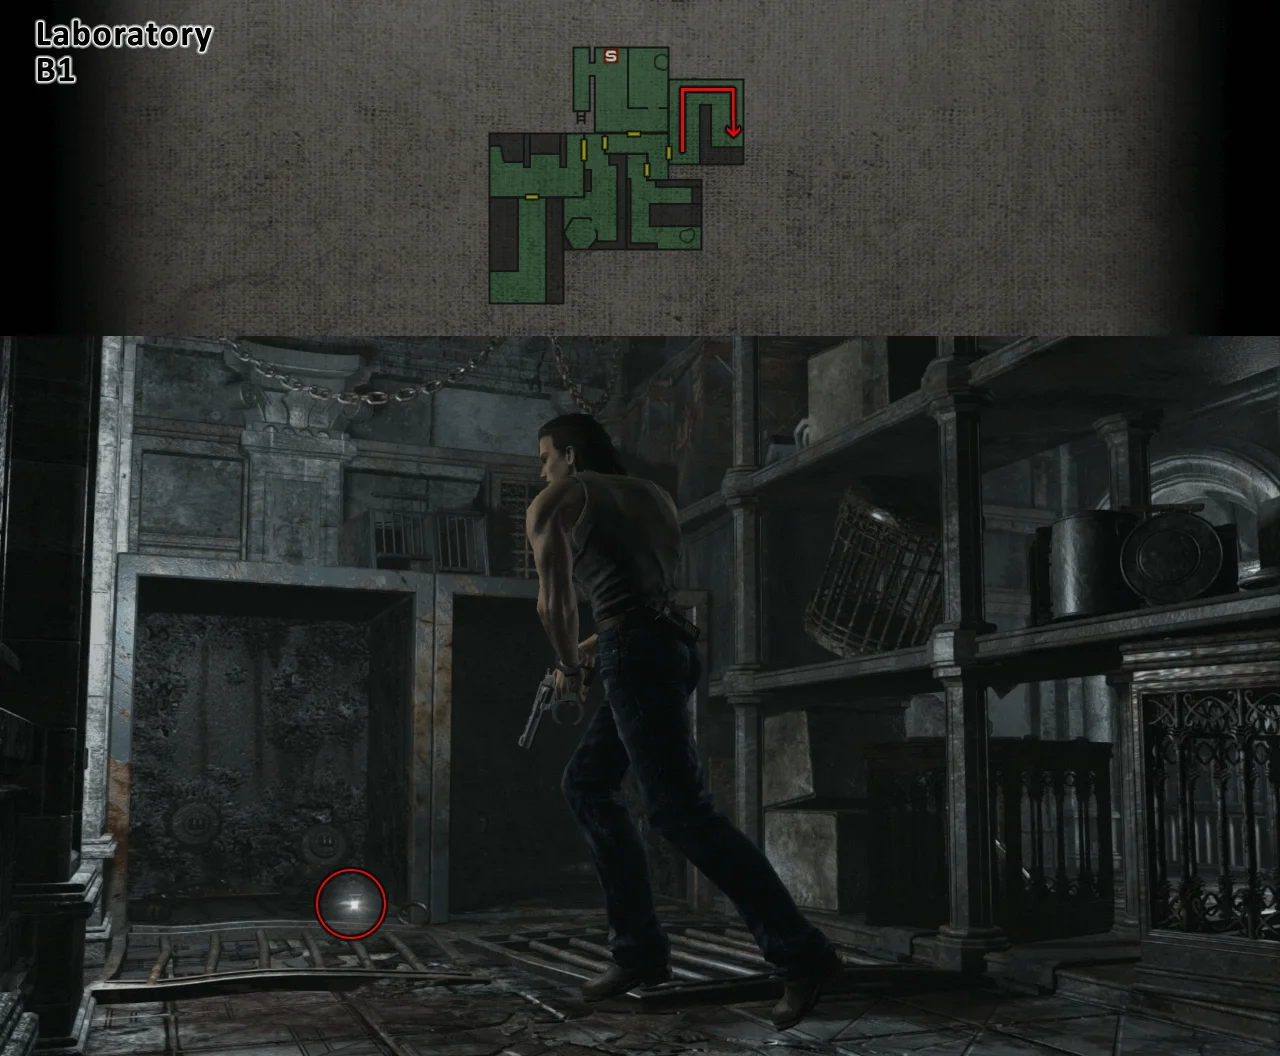
Unlock the Breeding Room door and go through
Put down the Lizards and pick up the Dial
Send the Dial to Rebecca
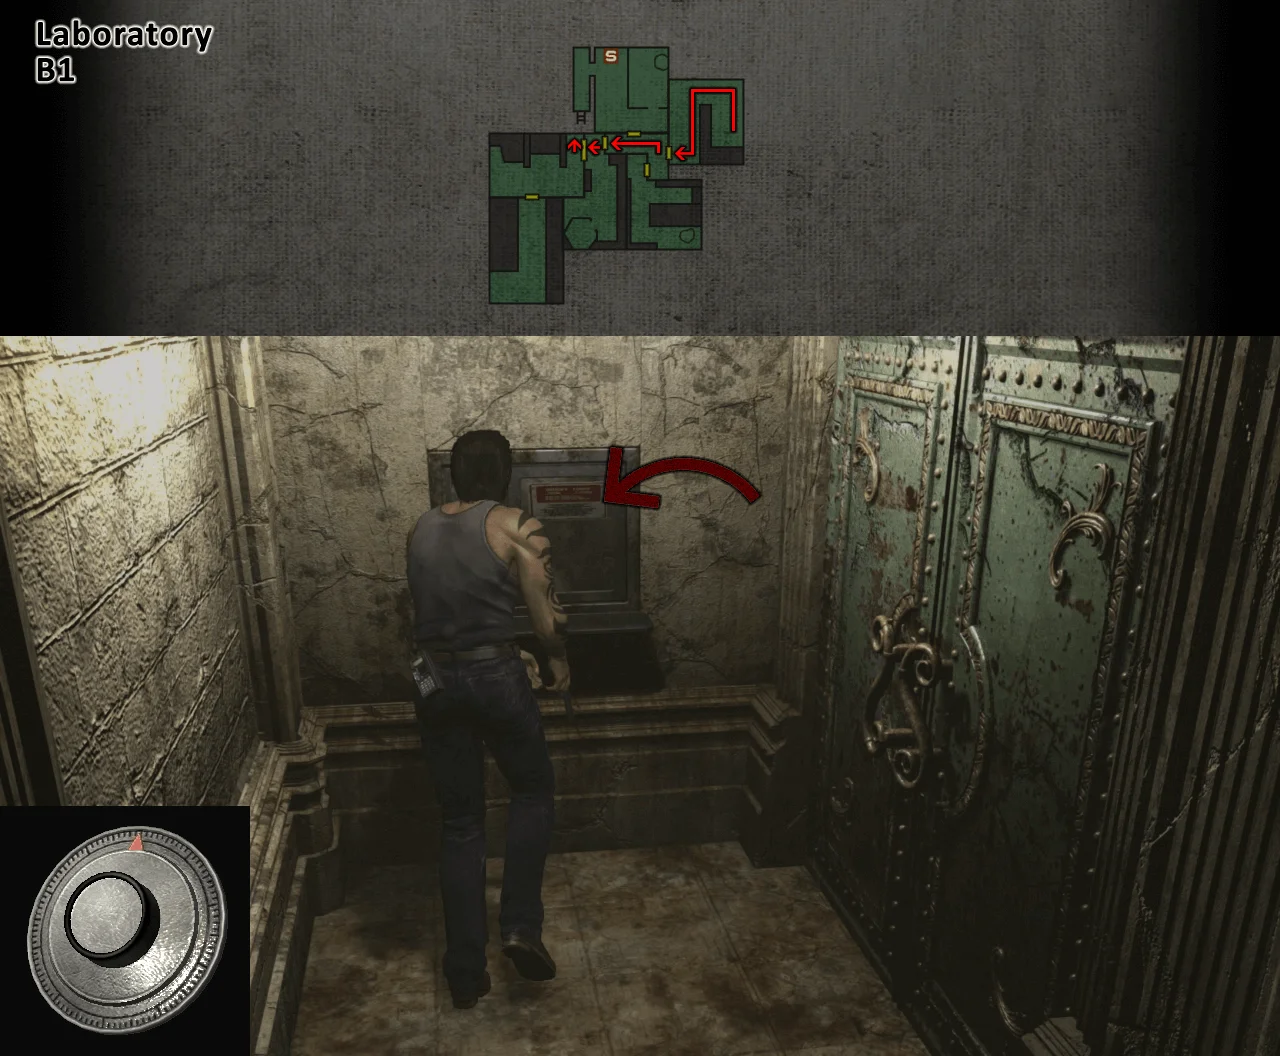
Pick up the Dial and use it to unlock the door;
The combination is 4863 (you get that from the File "Leech Growth Records" by combining the number of leeches in every stage);
Go through
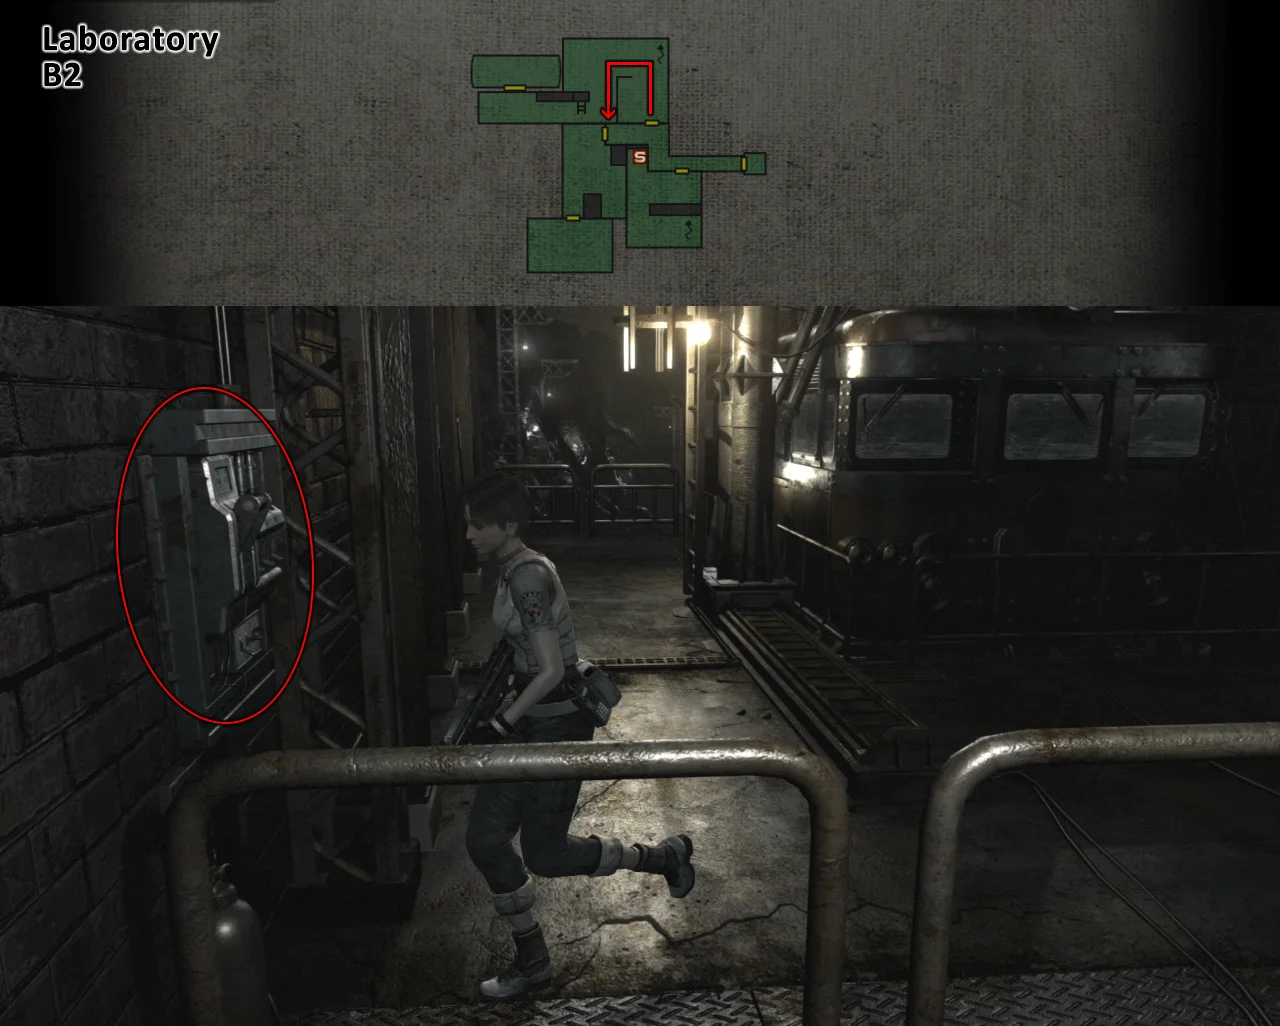
Pull down the lever to connect the platform to the upper floor
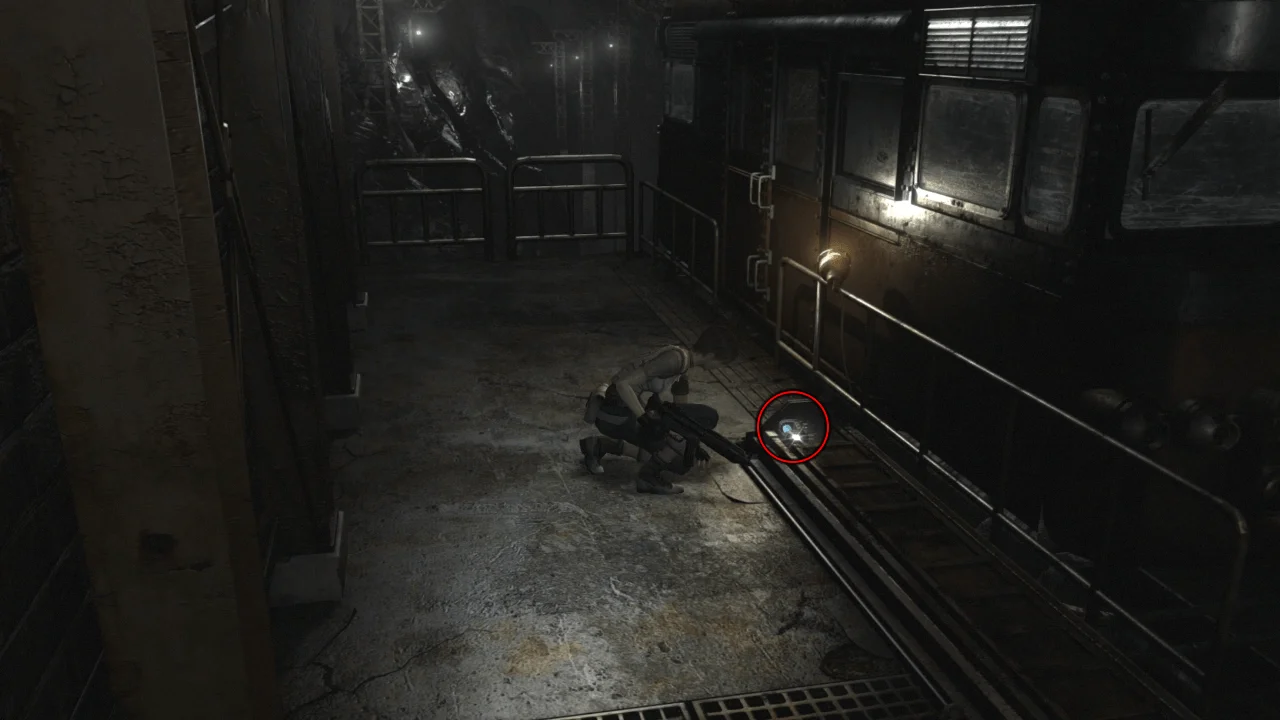
Pick up the Output Reg. Coil
Have Billy give Rebecca the Hookshot and use it to climb to the locked room above
Put both the Input and Output Reg. Coils in their place on the machine to restore power to the Cable Car.
(You can drop the Hookshot as you won't be needing it anymore)
Regroup with Billy and get in the cable car
Billy is attacked and falls down and Rebecca has to deal with a Mimicry Marcus
Defeat it and go put the Output Reg. Coil in the machine again
Get in the Cable Car
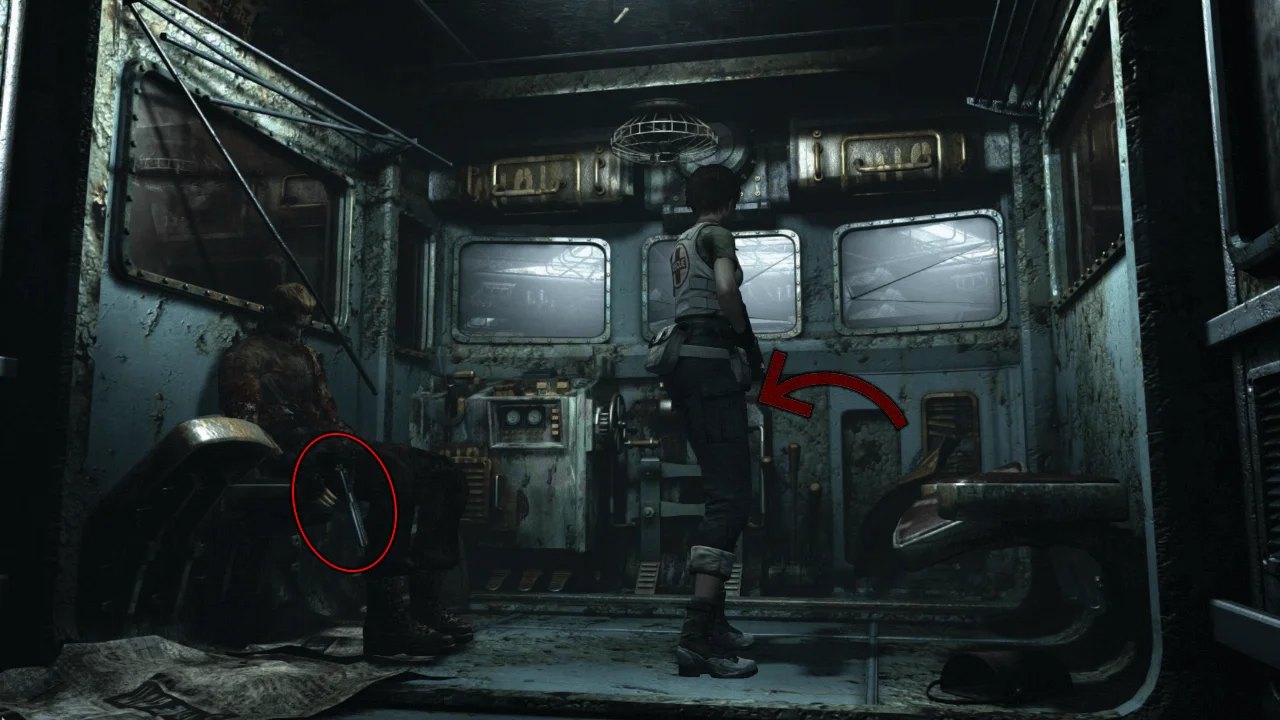
Pick up the Magnum from the dead body and start the Car
Congratulation, you've cleared the Laboratory Stage
Next up, The Factory.